
Setting up 2FA on Linux with PAM
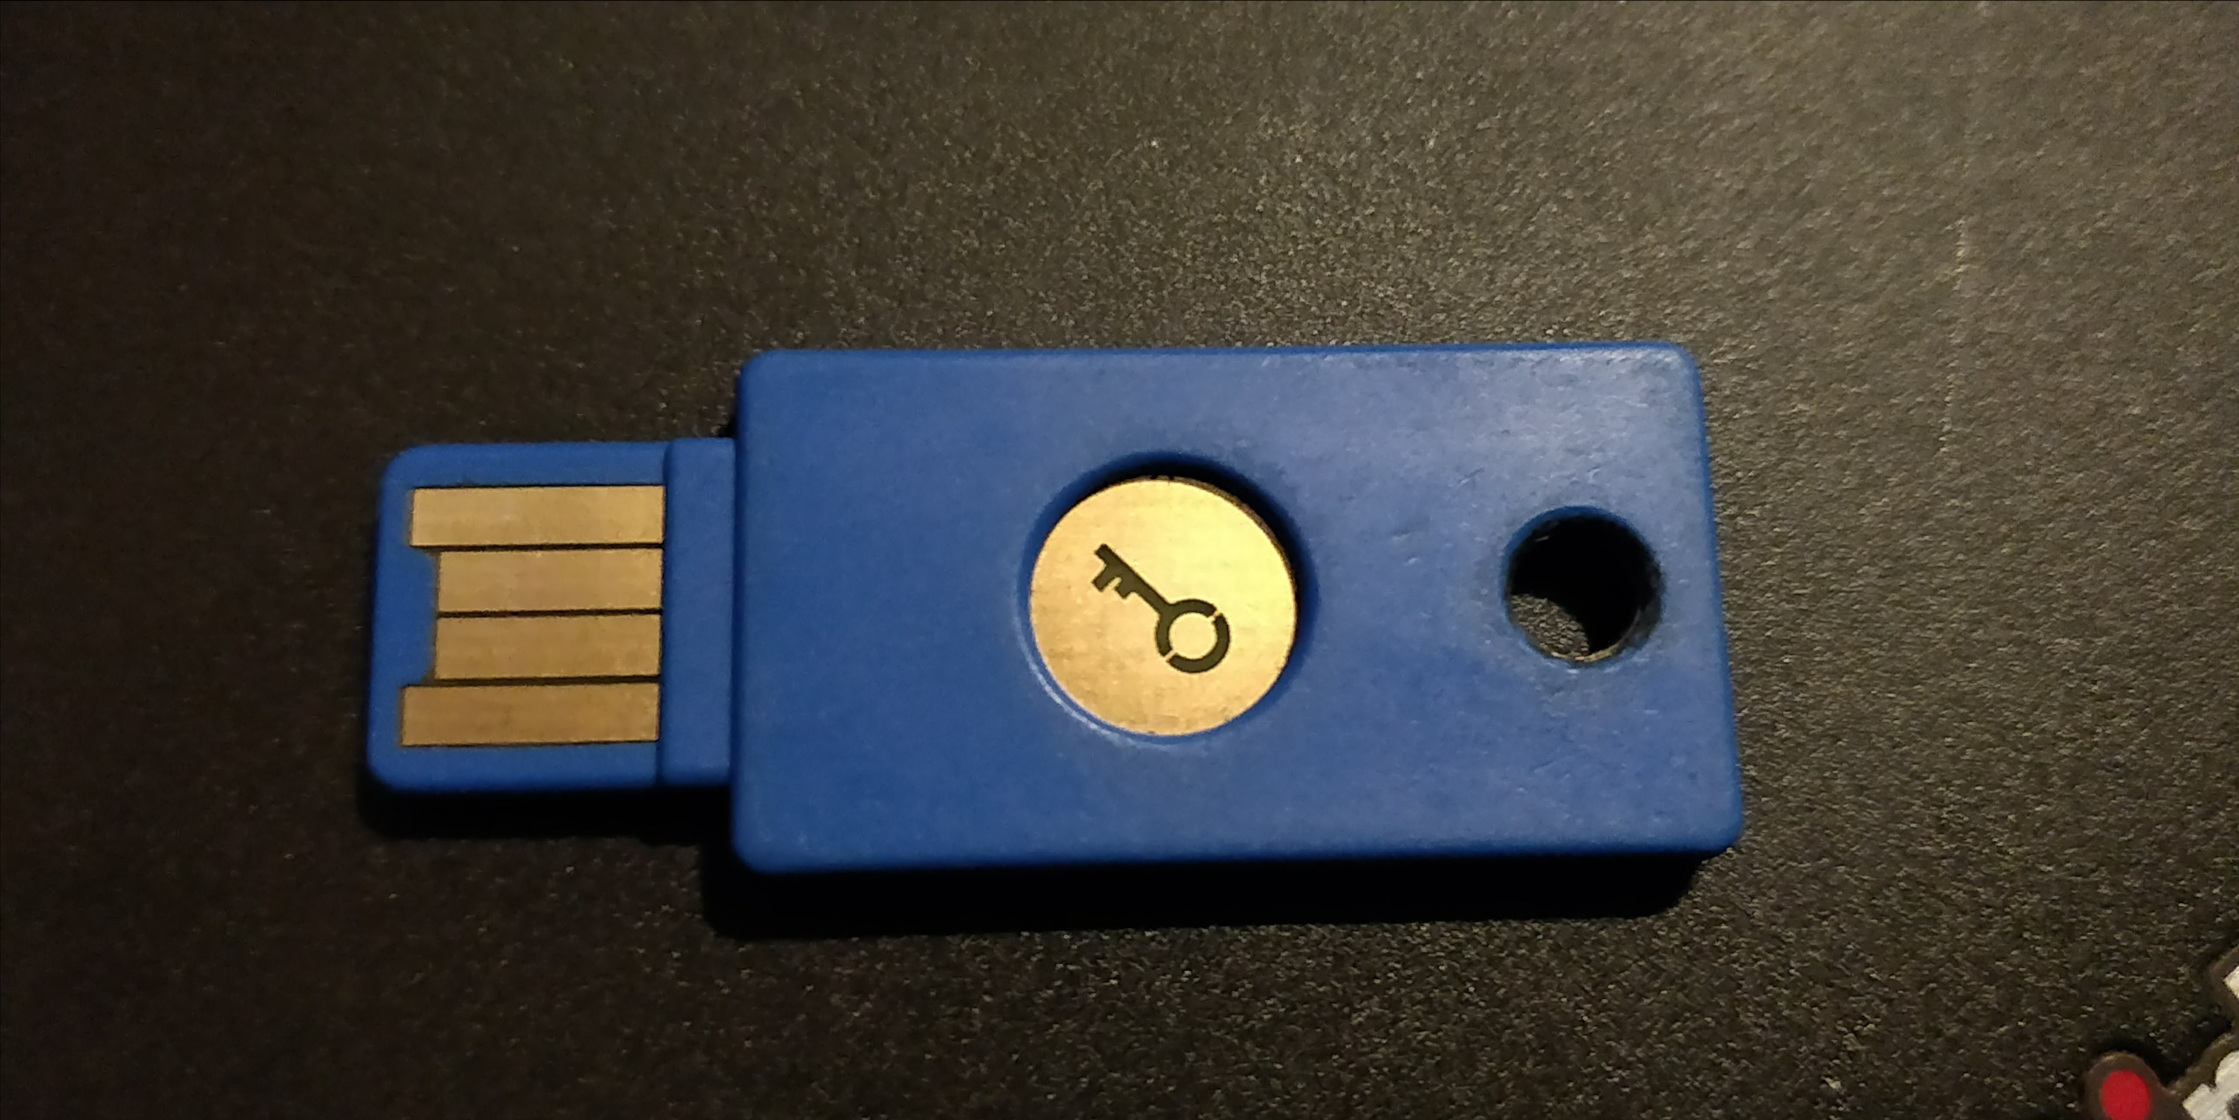
Quick post to explain how I setup my Two Factor Authentication on Linux using a Yubico U2F and PAM.
Install
To set up 2FA using the yubikey and PAM, we will need a few software. There is a PAM module already existing, provided by Yubico on GitHub.
Since I’m running on ArchLinux, I directly installed everything from the official repository.
the easy way
$ pacman -S pam_u2f
the slightly harder way (but not that hard anyway)
Clone the github repository: pam-u2f
$ git clone git://github.com/Yubico/pam-u2f.git
Compile the sources from scratch:
$ cd pam_u2f
$ autoreconf --install
Of course, you will need autoconf and automake, you can install those packages from your distrib’s repository.
And… yeah, that’s all!
Configuration
U2F mapping
For our yubikey to work properly, we’ll have to create a mapping file, which will contain our public key, that will be used for authenticating the yubico key.
This file can be generated per user or for the whole system.
I chose to put it under /etc/, so my configuration file is named /etc/u2f_mappings. The pam_u2f package provides a CLI command to generate everything.
Start by inserting the Yubikey on the computer, then launch the following command:
$ pamu2fcfg | sudo tee /etc/u2f_mappings'
Touch the button on the key, and voila!
Be careful and check that the /etc/u2f_mappings file does indeed contain something because if you weren’t fast enough to touch the key the generation might have failed.
Also, man pamu2fcfg for more options.
PAM
Now, we need to tell PAM to use our Yubico Key as an authentication device.
To do this, we will have to edit PAM’s configuration file(s) under /etc/pam.d/.
I am using i3lock as my screen locker, and since I do not want to lock myself out of my own computer, I chose to edit the file /etc/pam.d/i3lock only in the first place. (So if I break something during the configuration process, I can still login on a TTY and kill the i3lock process :D)
PAM has multiple ways of handling a particular module:
- sufficient
- required
- requisite
sufficient
This is used to tell PAM that if the authentication succeeds, it is enough to log the user in.
required
A required module must validate, otherwise the login will ultimately fail.
requisite
The difference between required and requisite is that requisite modules will return immediately in case of failure, not executing the other ones below.
With this in mind, my choice turned to either required or requisite.
i3lock
Here is my configuration for i3lock with 2FA, the lockscreen will require to type the password, then press the button on the yubikey.
$ cat /etc/pam.d/i3lock
#
# PAM configuration file for the i3lock screen locker. By default, it includes
# the 'system-auth' configuration file (see /etc/pam.d/login)
#

auth 	include 	system-auth
auth	required	pam_u2f.so 	authfile=/etc/u2f_mappings
And that’s all there is to it, just lock your screen and test it!
If everything works properly, you may want to add it to the session login, or other places to have a full 2FA authentication system.
Autolock screen when removing the yubikey
Ok, so this is purely experimental but it… works!
The goal is that the computer will automatically lock itself when the yubikey is unpluged, so that you won’t have to worry about thinking to lock it, and loose this good habit and… hmm. Well, it was fun.
This is a two part configuration, first we need to define a udev rule to detect when the U2F device is being removed. I put it at /etc/udev/rules.d/98-yubikey.rules.
The udev rule will trigger a sh script that will launch the screen locker.
Here’s 98-yubikey.rules:
ATTR{product}!="Security Key by Yubico", GOTO="yubikey_end"
ACTION=="remove", RUN+="/home/emy/projects/yubilock/ykgone.sh"
LABEL="yubikey_end"
Why did I choose to use the ATTR{product} for detection? Just because. And yes we can use the product IDs.
Here is the content of the script ykgone.sh:
#!/bin/bash

echo "su emy -c 'DISPLAY=:0 /bin/i3lock'" | at now
There’s a few mandatory things here:
- we have to use
suto launch the process with the corresponding user, otherwise it will launch as root, and I want to type my password, not root’s - The
DISPLAYenvironment variable is necessary for i3lock to launch at nowis a trick to cheat the timeout on udev.
Yes, udev RUN functionnality have a timeout and will kill the processes launched if they take too long to run. Using at allows us to deleguate the real launch to atd and thus we don’t rely on udev anymore.
Once everything is properly setup, we can reload udev rules:
$ sudo udevadm control --reload-rules
i3lock displays an error message “locking failed”, but remains locked.
Oh, and don’t lose the yubikey now though…
eq.