
HydraBus presentation
So last time, I wrote a post about the bus pirate, which was quite successful. It attracted a few people and eventually, @hydrabus found it, and this happened:

Needless to say that I accepted, and here we are. Thanks a lot to @hydrabus for the proposition!
HydraBus:
Overview
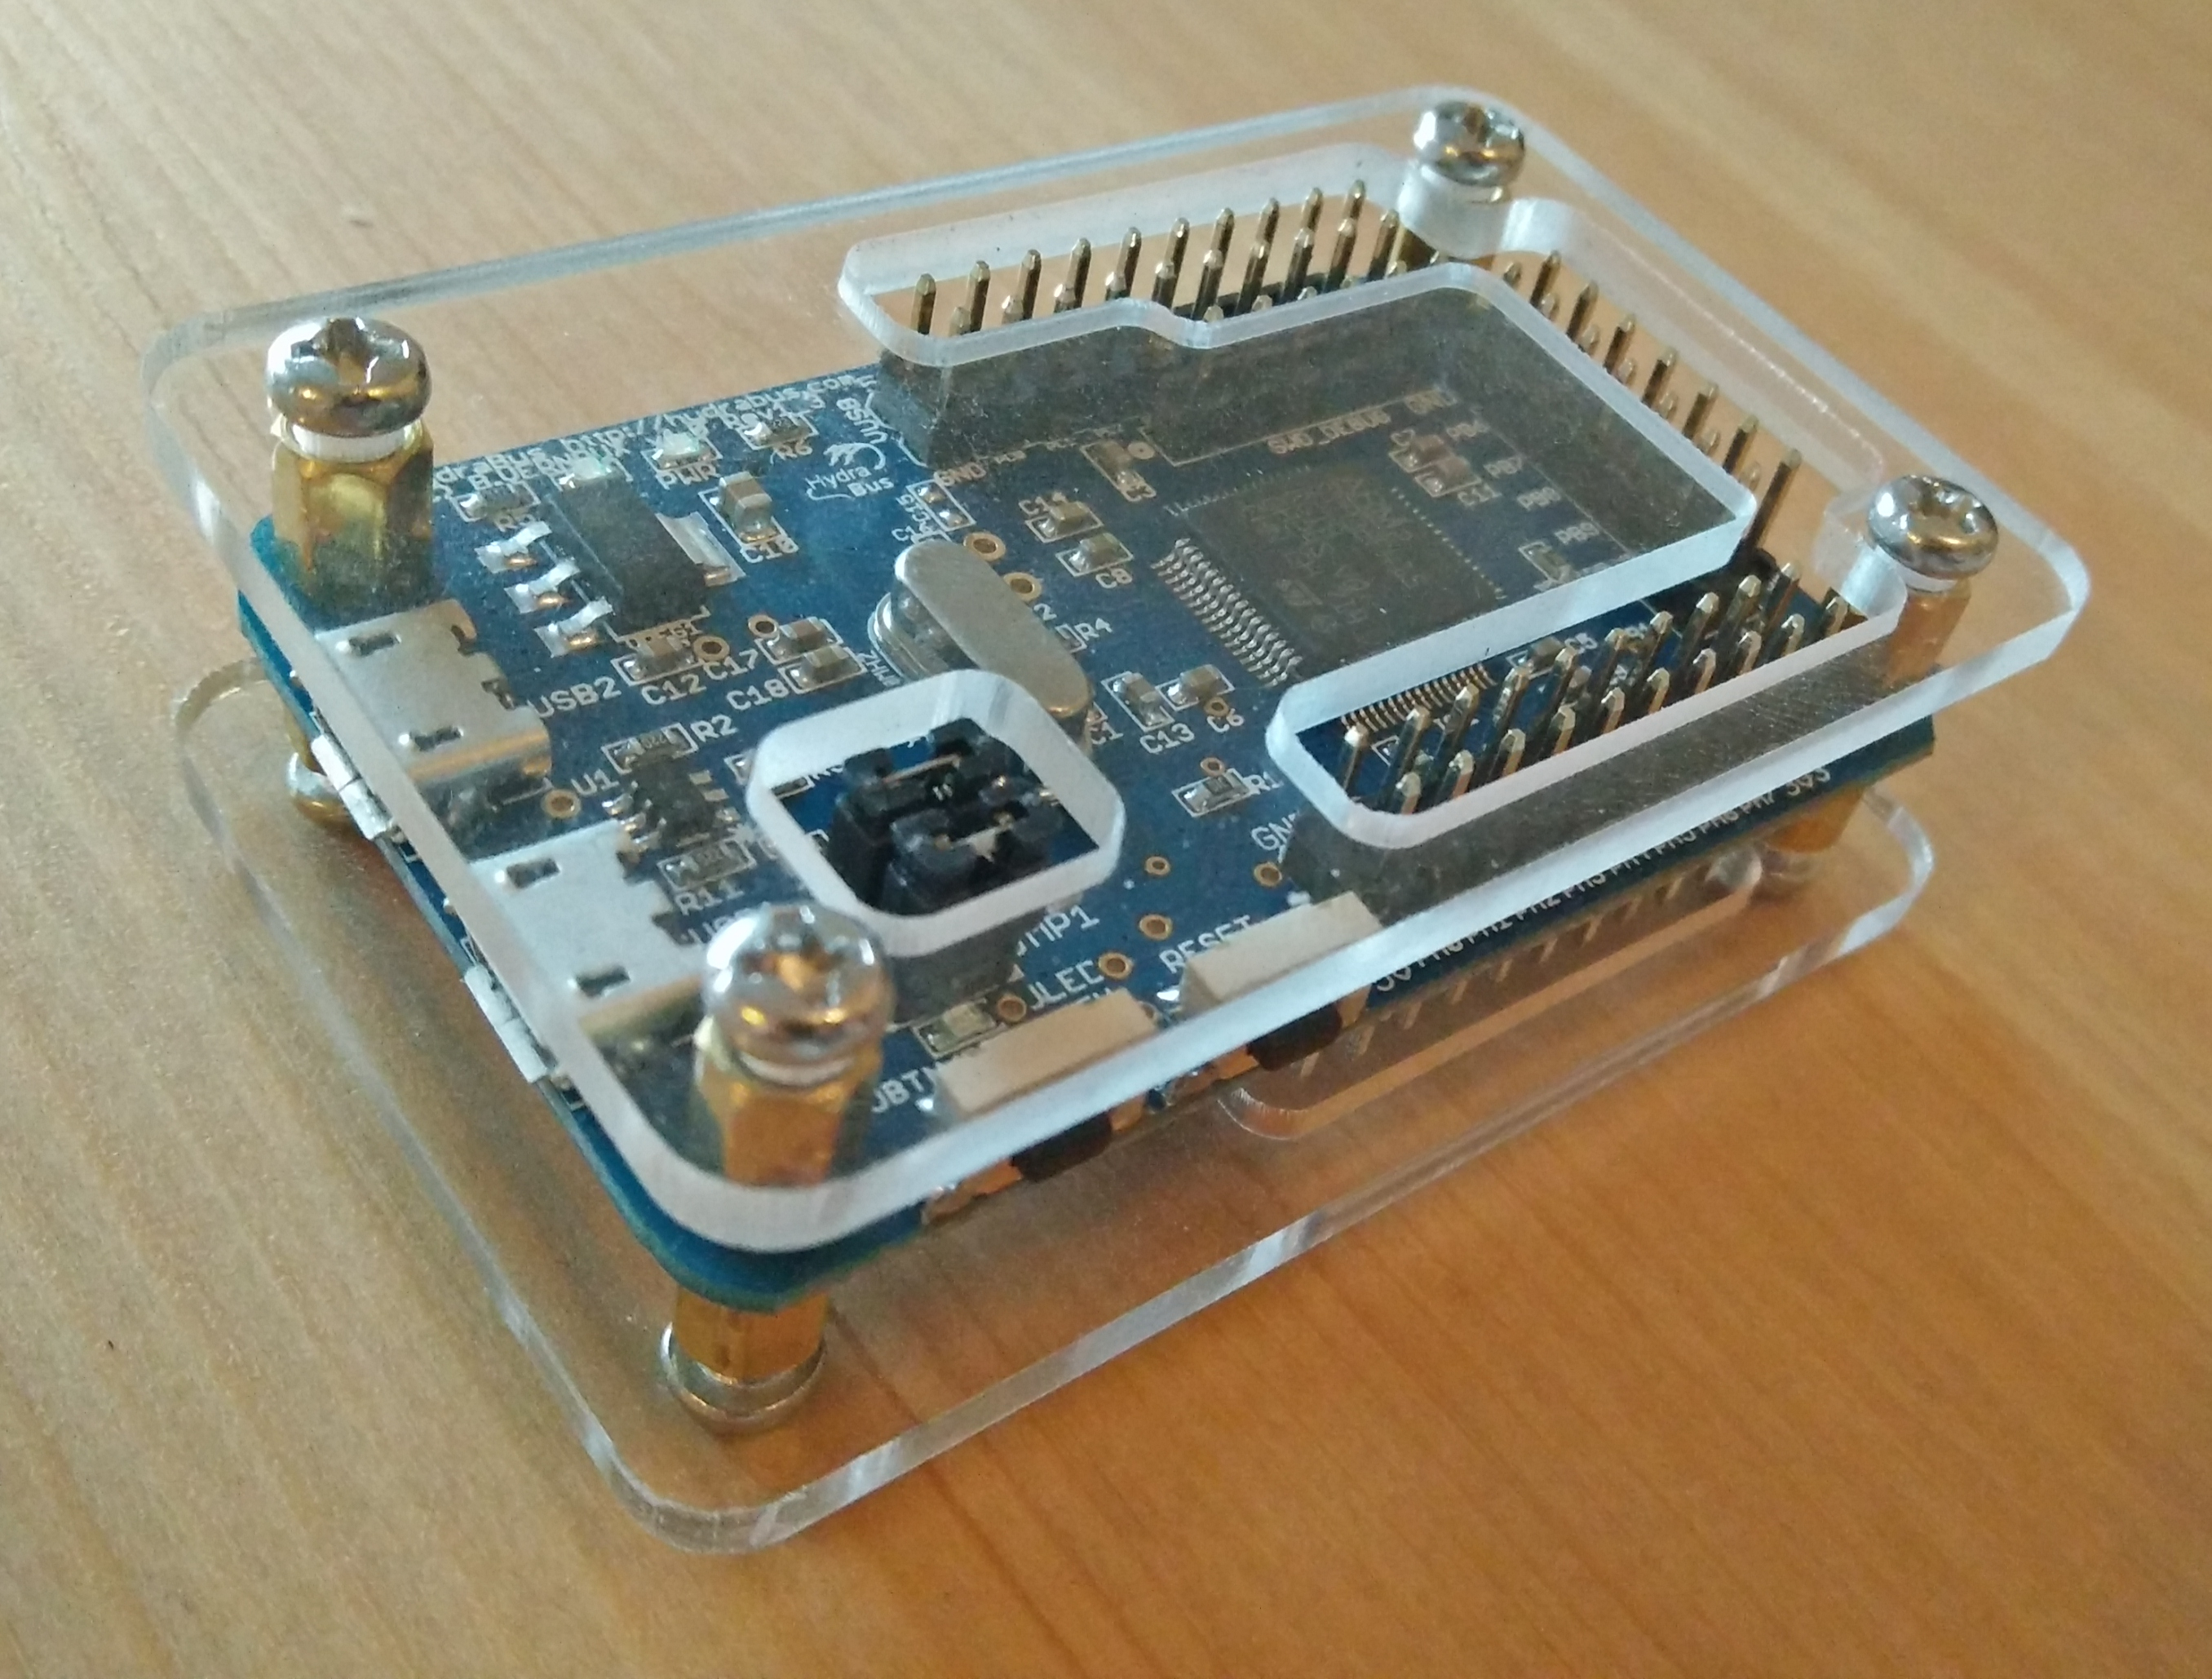
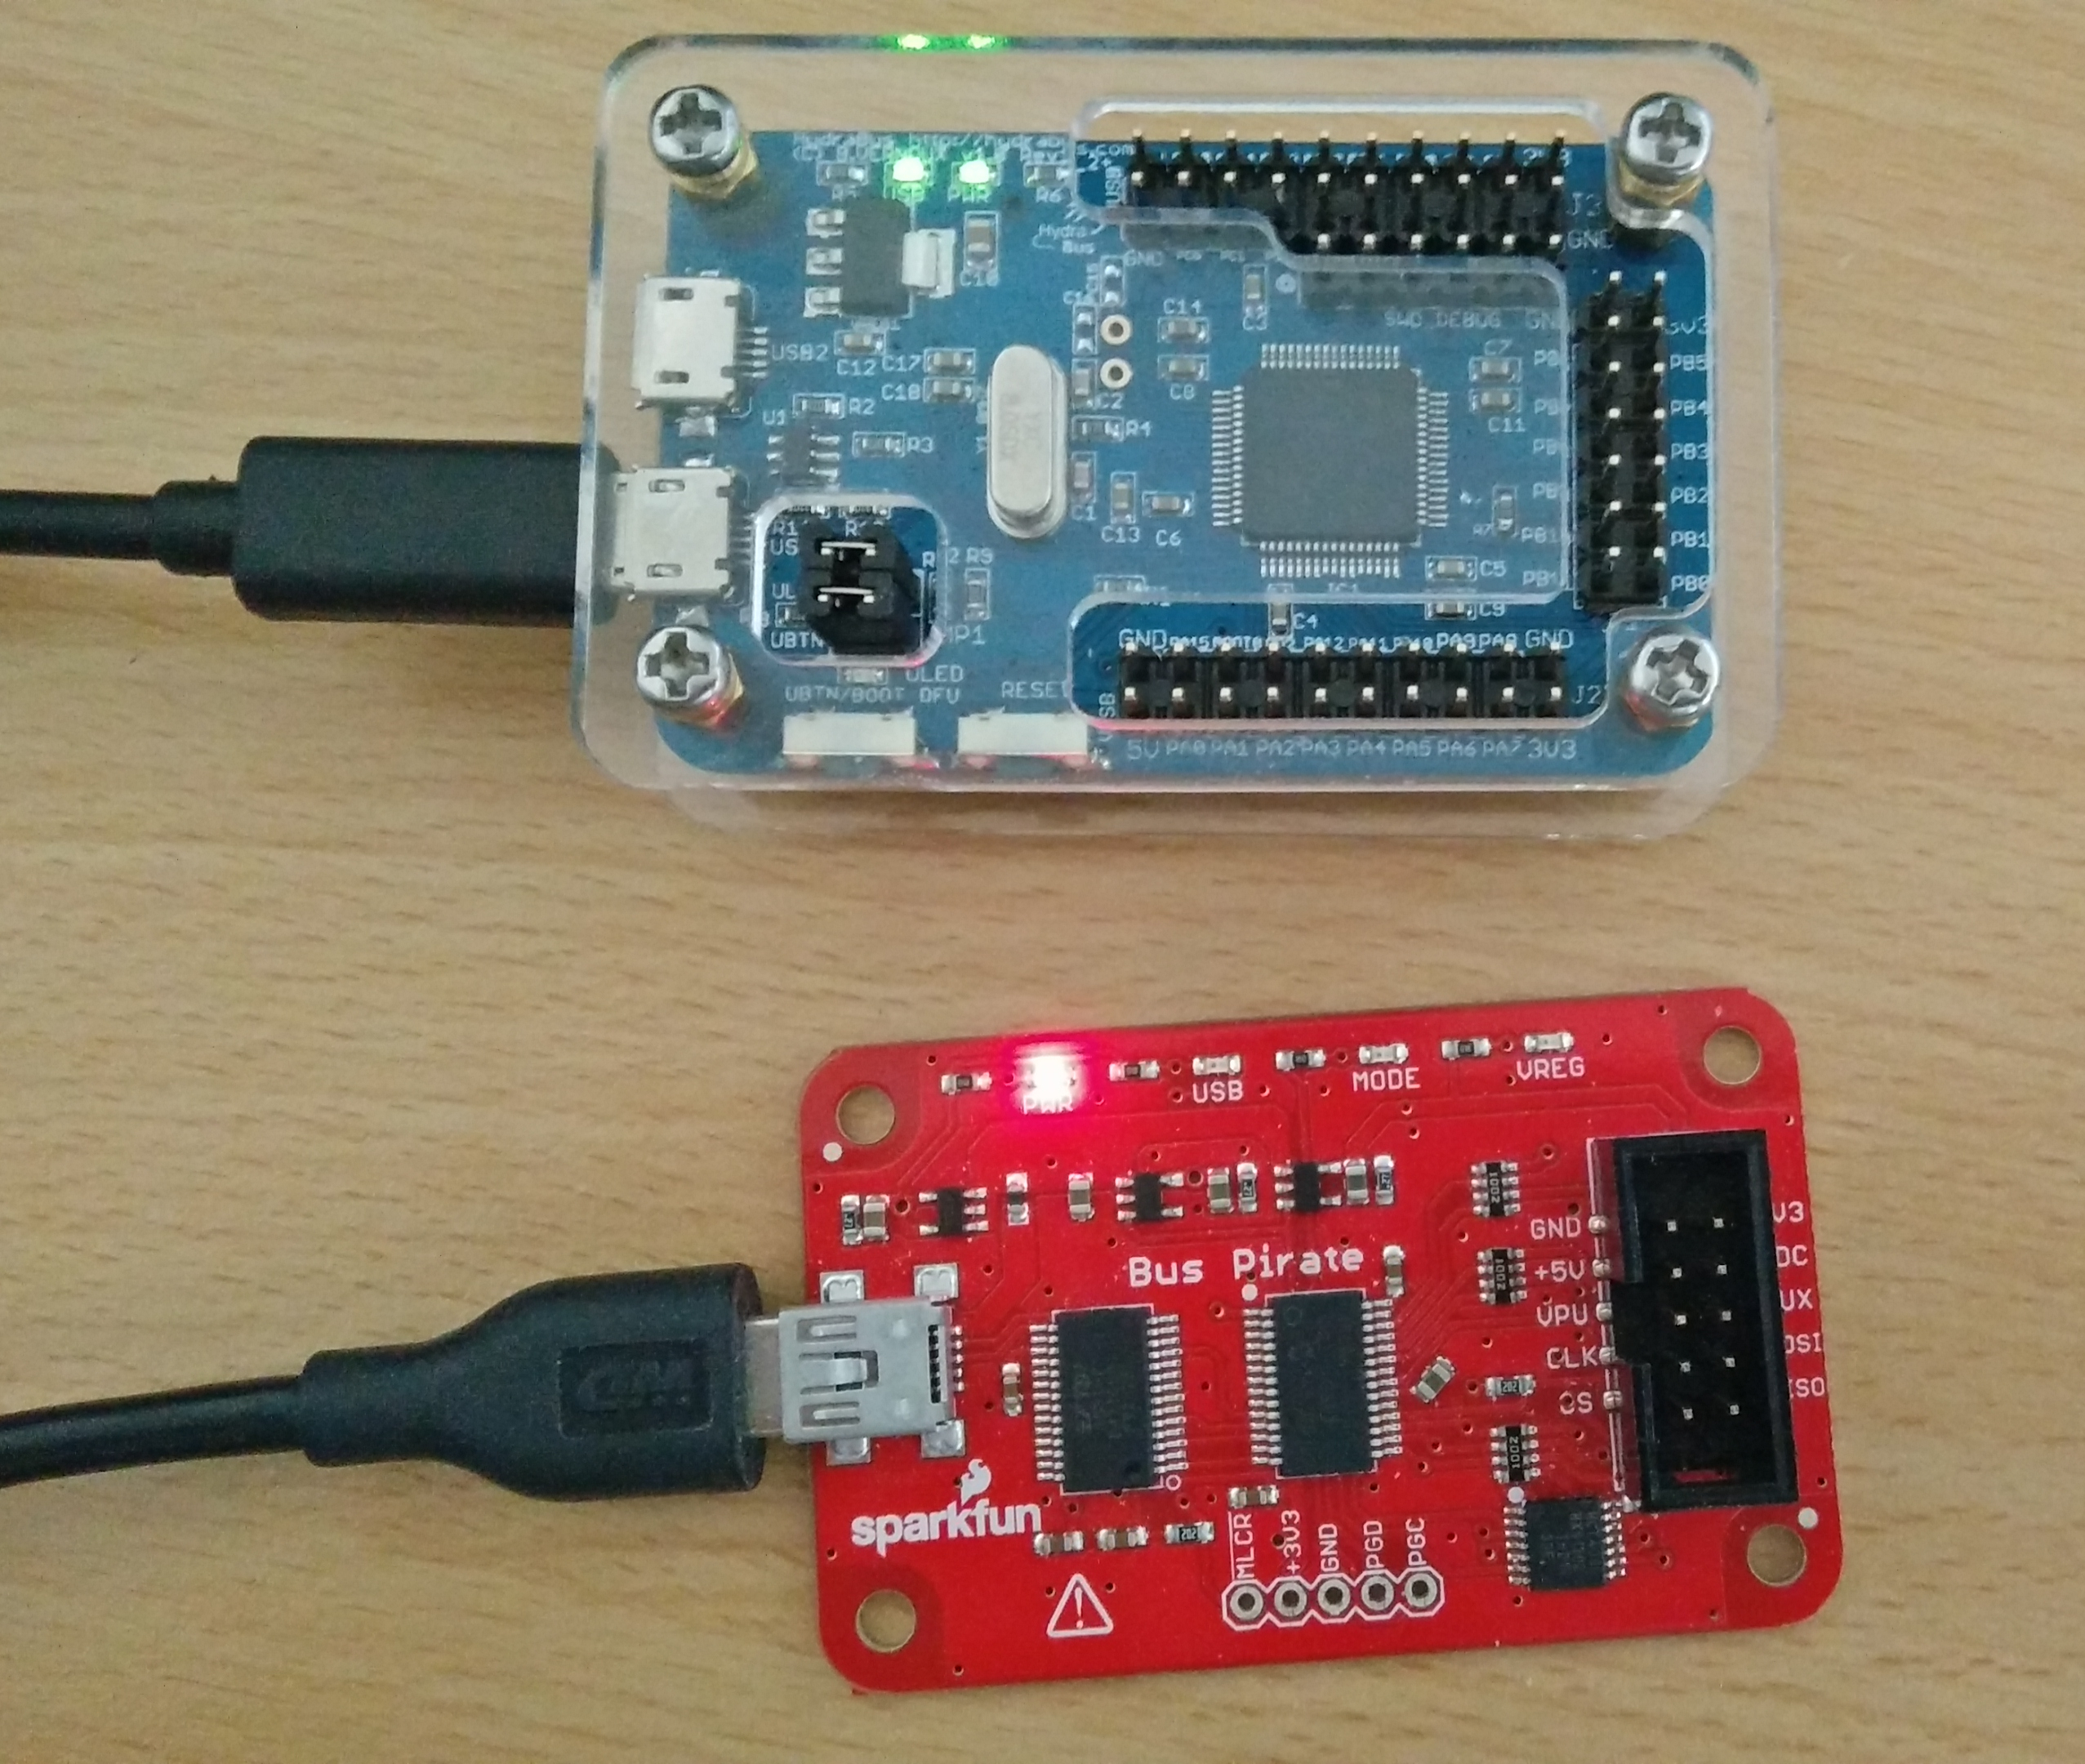
To get an idea of the size of the PCB, it is a standard DangerousPrototypes PCB, which leads to the HydraBus being the same size as the BusPirate:
Here is a list of what the HydraBus can do so far:
- Communicate with multiple protocols: UART, SPI, I²C, JTAG, SWD, CAN…
- I²C sniffing with sigrok/pulseview in logic analyzer mode (which I want to write about in a future post!)
- Python scripting using the binary interface (we will probably discuss this in another post too)
- Save data to micro SD card
- USB OTG port
- more…?
Also, it basically is no different from a micro-controller (STM32F415) connected to some pins, so have fun hacking it ;)
Documentation
There is already plenty of documentation available on github and on the hydrabus project page.
Also, an IRC channel is available: #hydrabus on freenode
Cables
Unlike the bus pirate, there are no standard cables for the HydraBus yet, so I simply used a bunch of wire jumpers with some grabbers.
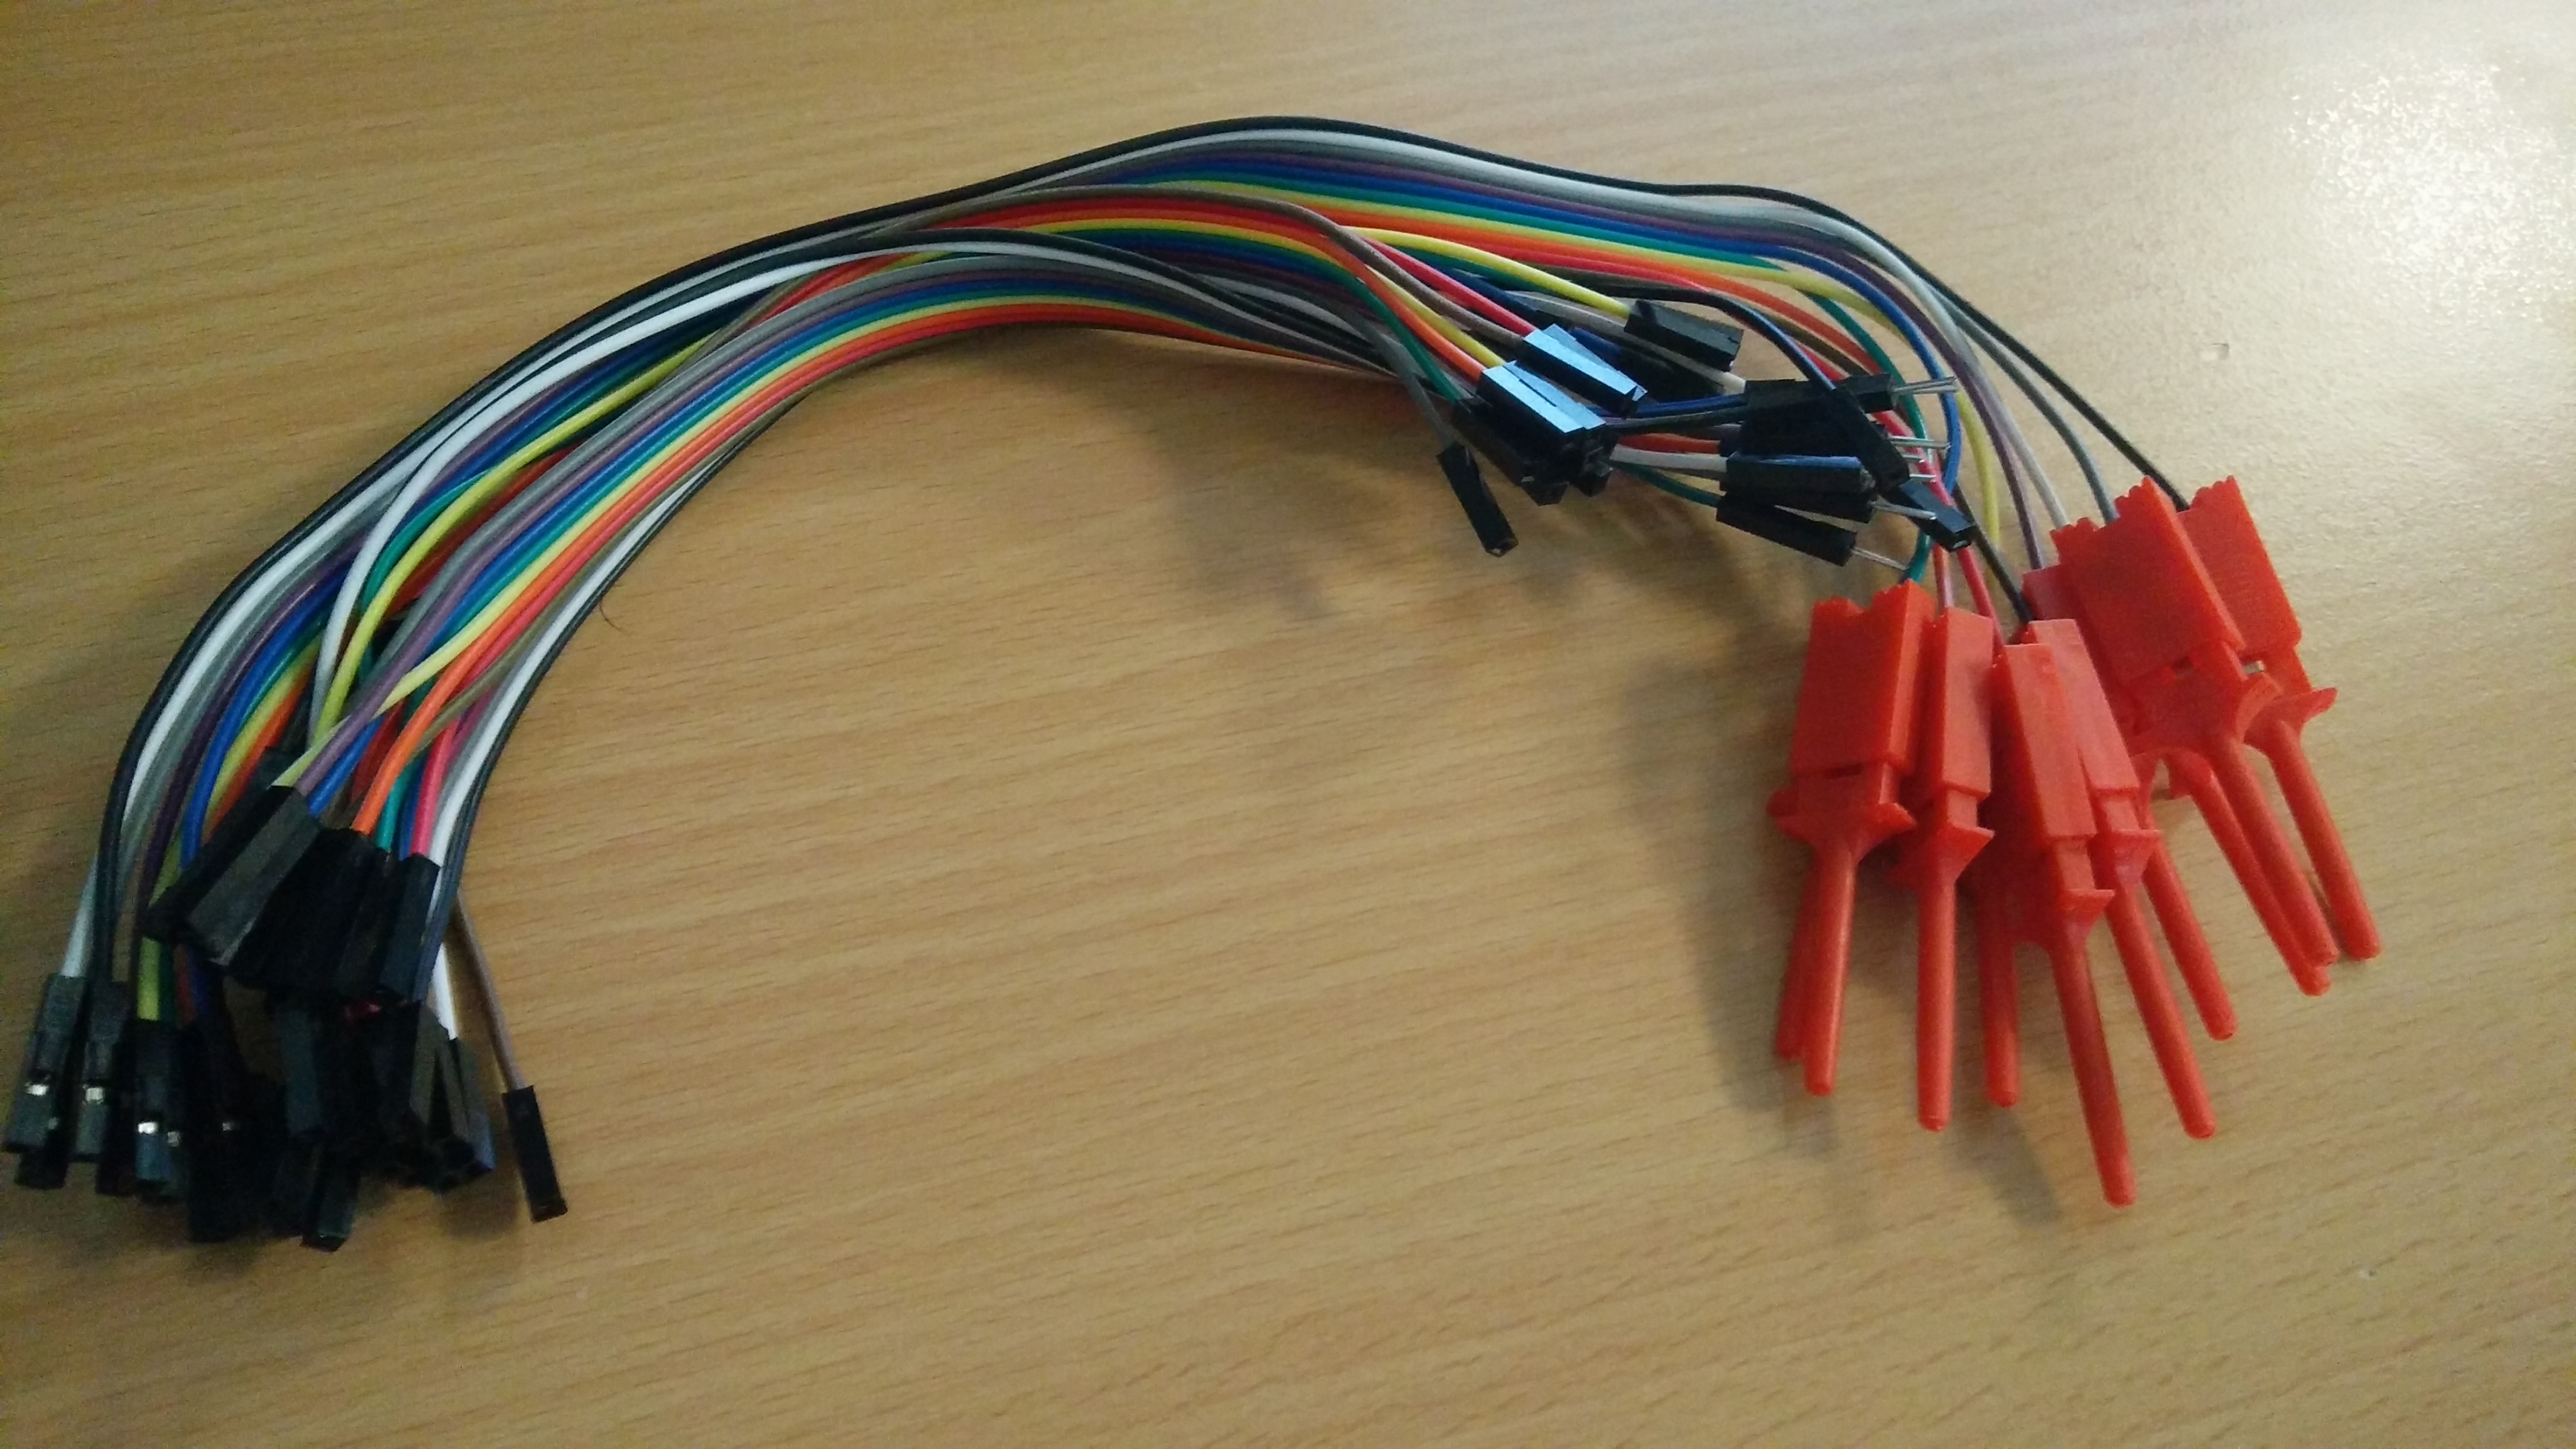
For the USB cable, we need a micro USB type B connector.
Basic setup
Optional udev rule
For the same reason as with the bus pirate, I like to setup an udev rule for the Hydrabus, making usage easier. Here is my rule:
Create the file /etc/udev/rules.d/98-hydrabus.rules, containing the following:
SUBSYSTEM=="tty", ATTRS{idVendor}=="1d50", ATTRS{idProduct}=="60a7", GROUP="users", MODE="0666", SYMLINK+="hydrabus"
Note that you can get the idVendor and idProduct from the command lsusb.
And reload the udev rules (as root):
udevadm control --reload-rules
Basically, if you haven’t read my post on the BusPirate, this rule matches the idVendor and idProduct of the Hydrabus and creates a symlink at /dev/hydrabus, which will come in handy later on.
Communicating with your HydraBus
One easy way to connect to your hydrabus is to use the command screen:
screen /dev/hydrabus 115200
For my personal use, I chose to add an alias to this command, in my .bashrc file:
alias hydrabus='screen /dev/hydrabus 115200'
So now, I just have to type hydrabus in my shell to access it, which makes it super simple to use.
There exist other way to connect to the serial interface, using other tools, like putty or minicom for example.
First contact: discovery
Once you’ve connected to the hydrabus using your favorite tool, you get access to its serial interface; let’s explore it a bit together.
Help and system information
One of the greatest commands you will find here is the help command. It is quite straightforward to use, as shown here:
> help
Available commands
   help           Available commands
   history        Command history
   clear          Clear screen
   show           Show information
   logging        Turn logging on or off
   sd             SD card management
   adc            Read analog values
   dac            Write analog values
   pwm            Write PWM
   frequency      Read frequency
   gpio           Get or set GPIO pins
   spi            SPI mode
   i2c            I2C mode
   1-wire         1-wire mode
   2-wire         2-wire mode
   3-wire         3-wire mode
   uart           UART mode
   nfc            NFC mode
   can            CAN mode
   sump           SUMP mode
   jtag           JTAG mode
   random         Random number
   flash          NAND flash mode
   debug          Debug mode
>
Note that you can also request more help for a specific command by typing help <command_name>.
We can now show some information about the board:
> help show
Show information
   system
   memory
   threads
   sd
   debug
> show system
HydraFW (HydraBus) v0.8-beta-51-g248383f-dirty 2017-09-09
sysTime: 0x00625d01.
cyclecounter: 0x257e7802 cycles.
cyclecounter64: 0x00000001257e7811 cycles.
10ms delay: 1680028 cycles.

MCU Info
DBGMCU_IDCODE:0x10076413
CPUID:        0x410FC241
Flash UID:    0x57003C 0x34365111 0x39333434
Flash Size:   1024KB

Kernel:       ChibiOS 4.0.0
Compiler:     GCC 4.9.3 20150529 (release) [ARM/embedded-4_9-branch revision 227977]
Architecture: ARMv7E-M
Core Variant: Cortex-M4F
Port Info:    Advanced kernel mode
Platform:     STM32F4x5 High Performance with DSP and FPU
Board:        HydraBus 1.0
Build time:   Sep 12 2017 - 00:33:42
>
> show memory
core free memory : 23712 bytes
heap fragments   : 0
heap free total  : 0 bytes
heap free largest: 0 bytes
>
> show threads
stklimit    stack     addr refs prio     state         name
00000000 20000724 20018980    1  128  SLEEPING         main
200176b0 200176fc 200177c8    1    1     READY         idle
20017898 2001794c 20017a20    1    2     READY     usb_pump
20017af0 20017c0c 20017c78    1    2 SUSPENDED     usb_pump
20019360 2001a1a4 2001a318    1  128   CURRENT console USB1
>
> show sd
Failed to connect to SD card.
>
> show debug
Debugging is disabled.
Getting into UART mode
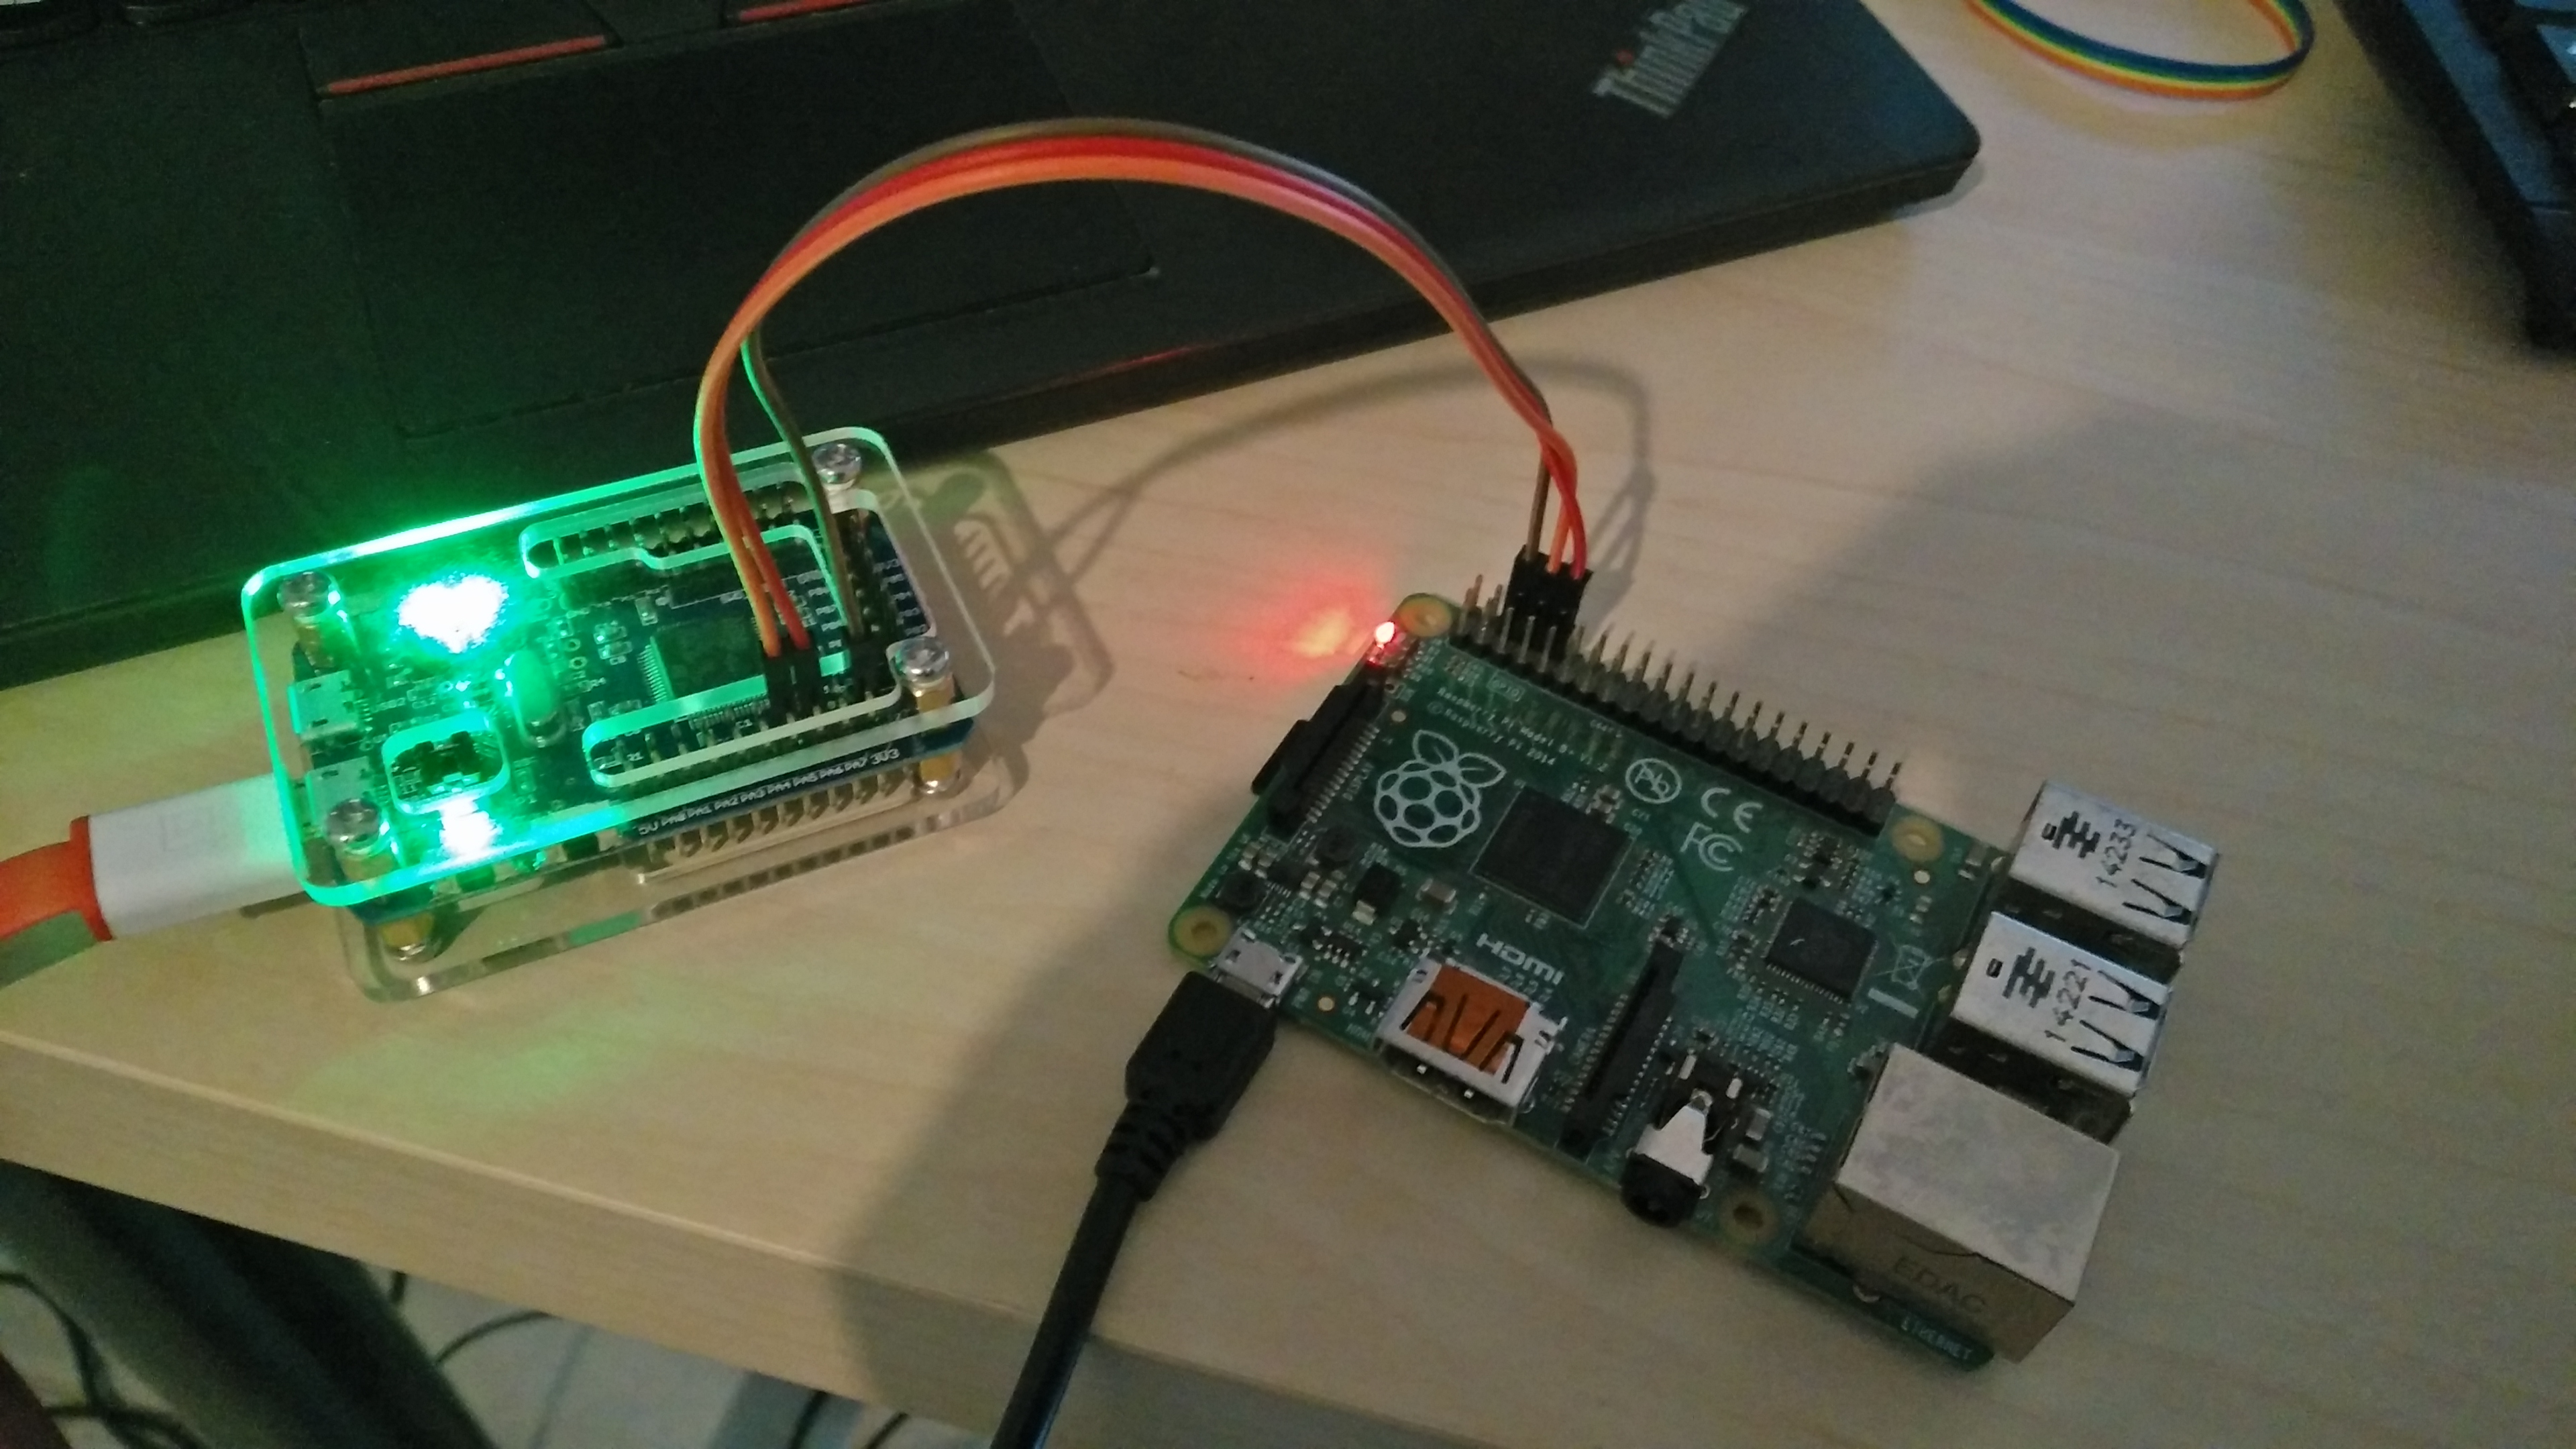
Now that you have a better idea about how the serial interface behaves, we will use it for some more interesting purposes. Here, I have a raspberry pi which provides a UART communication mode through its GPIO pins. We will use the hydrabus as an interface to communicate with it and log into the raspberry’s system.
To start uart mode, just type uart
> uart
Device: UART1
Speed: 9600 bps
Parity: none
Stop bits: 1
As always, help is available:
uart1> help
Configuration: uart [device (1/2)> [speed (value in bauds)] [parity (none/even/odd)] [stop-bits (1/2)]
Interaction: <read/write (value:repeat)>
   show           Show UART parameters
   trigger        Setup UART trigger
   device         UART device (1/2)
   speed          Bus bitrate
   parity         Parity (none/even/odd)
   stop-bits      Stop bits (1/2)
   read           Read byte (repeat with :<num>)
   hd             Read byte (repeat with :<num>) and print hexdump
   write          Write byte (repeat with :<num>)
   <integer>      Write byte (repeat with :<num>)
   <string>       Write string

   &              Delay 1 usec (repeat with :<num>)
   ~              Write a random byte (repeat with :<num>)
   bridge         UART bridge mode
   exit           Exit UART mode
uart1> speed 115200
As shown in the help message, we could have configured everything in one command. But the good thing is that we can still change the parameters before doing anything else.
uart1> speed 115200
Final speed: 115226 bps(0.03% err)
uart1> show
Device: UART1
Speed: 115200 bps
Parity: none
Stop bits: 1
uart1>
These parameters seem good enough to access our RPI using UART connexion.
Well, how do we connect the cables? There is a neat command for that:
uart1> show pins
TX: PA9
RX: PA10
Believe me, this command will be helpful more than once! Connect those pins and the GND pin to the RPI board. Keep in mind that you will need to invert the pins (RX on the hydrabus goes to TX on the RPI and TX on the hydrabus goes to RX on the RPI) because that is how UART behaves.
| HydraBus | RPI |
|---|---|
| TX | RX |
| RX | TX |
| GND | GND |
Now that everything is properly set up, we should be able to go into bridge mode on the HydraBus. The purpose of this mode is to make the hydrabus behave like a UART cable.
uart1> bridge
Interrupt by pressing user button.


Raspbian GNU/Linux 8 raspberrypi ttyAMA0

raspberrypi login:
Raspbian GNU/Linux 8 raspberrypi ttyAMA0

raspberrypi login: pi
Password:
Last login: Wed Jul  5 12:01:54 UTC 2017 on tty1
Linux raspberrypi 4.9.35+ #1014 Fri Jun 30 14:34:49 BST 2017 armv6l

The programs included with the Debian GNU/Linux system are free software;
the exact distribution terms for each program are described in the
individual files in /usr/share/doc/*/copyright.

Debian GNU/Linux comes with ABSOLUTELY NO WARRANTY, to the extent
permitted by applicable law.
pi@raspberrypi:~$ id
uid=1000(pi) gid=1000(pi) groups=1000(pi),4(adm),20(dialout),24(cdrom),27(sudo),29(audio),44(video),46(plugdev),60(games),100(users),101(input),108(netdev),997(gpio),998(i2c),999(spi)
pi@raspberrypi:~$
Great we can use the Hydrabus as a UART interface to other devices!
You can quit the bridge mode by pressing the button named UBTN on the device and then type exit to return to normal mode.
JTAG mode using openOCD
The great thing about the hydrabus is that it implements the same binary mode as the bus pirate, which leads to some tools being naturally compatible with it. The JTAG interface is designed for debugging electronic systems; it can also be used for accessing registers or memory on a micro controller.
OpenOCD installation and configuration
I’ve already explained all this in my blog post about the bus pirate so I’ll be quick with this.
If you are using a GNU/Linux system, you can install openOCD from your official package repository, otherwise, you can find it here.
Configuration and usage
The configuration file for the HydraBus is similar to the one for the bus pirate, with a few changes for the buspirate_port parameter.
source [find interface/buspirate.cfg]

buspirate_port /dev/hydrabus
buspirate_vreg 1
buspirate_mode normal
transport select jtag

source [find target/stm32f4x.cfg]
Unfortunately, I did not have a real target at the time of writing, so I just set the target to a STM32F4 micro-controller, for the sake of the example.
If you are wondering what those options and parameters do, I suggest you read openOCD’s documentation about configuration files, which you can find here.
As always, for the pinout, we can use the command show pins while in jtag mode:
> jtag
Device: JTAG1
GPIO resistor: floating
Frequency: 1000000Hz
Bit order: LSB first
jtag1> show pins
TMS: PB10
TCK: PB11
TDI: PB8
TDO: PB9
TRST: PB7
Once all the cables are plugged properly, we can start openOCD, using the following command:
openocd -f hydrabus.cfg
and connect to it using telnet (though I rather use netcat) on localhost and port 4444 in another terminal:
nc localhost 4444
Everything is now set and we can finally interact with our micro controller. Typing the help command in the interface will display all the available commands, so you can now have fun and

Conclusions
The HydraBus is a promising tool, with lots of possibilities given the implemented protocols. It is faster than the buspirate, but does not always catch up with frequencies used by memories or micro controllers to communicate with some protocols, which in some cases is problematic for communication sniffing (with SPI or I²C for example). Since it is still in development we can hopefully count on a rising number of good contributions to the project which is really great! However, due to the fact that it is quite young and not yet well renowned, the community around the project is quite small as of yet, but we can hope for it to grow quickly. So I would gladly encourage all of you to take a look at the project and contribute if you have the chance!
And once more, a special shout-out to @hydrabus for this awesome tool!