PC to GBA interface -- Part 1
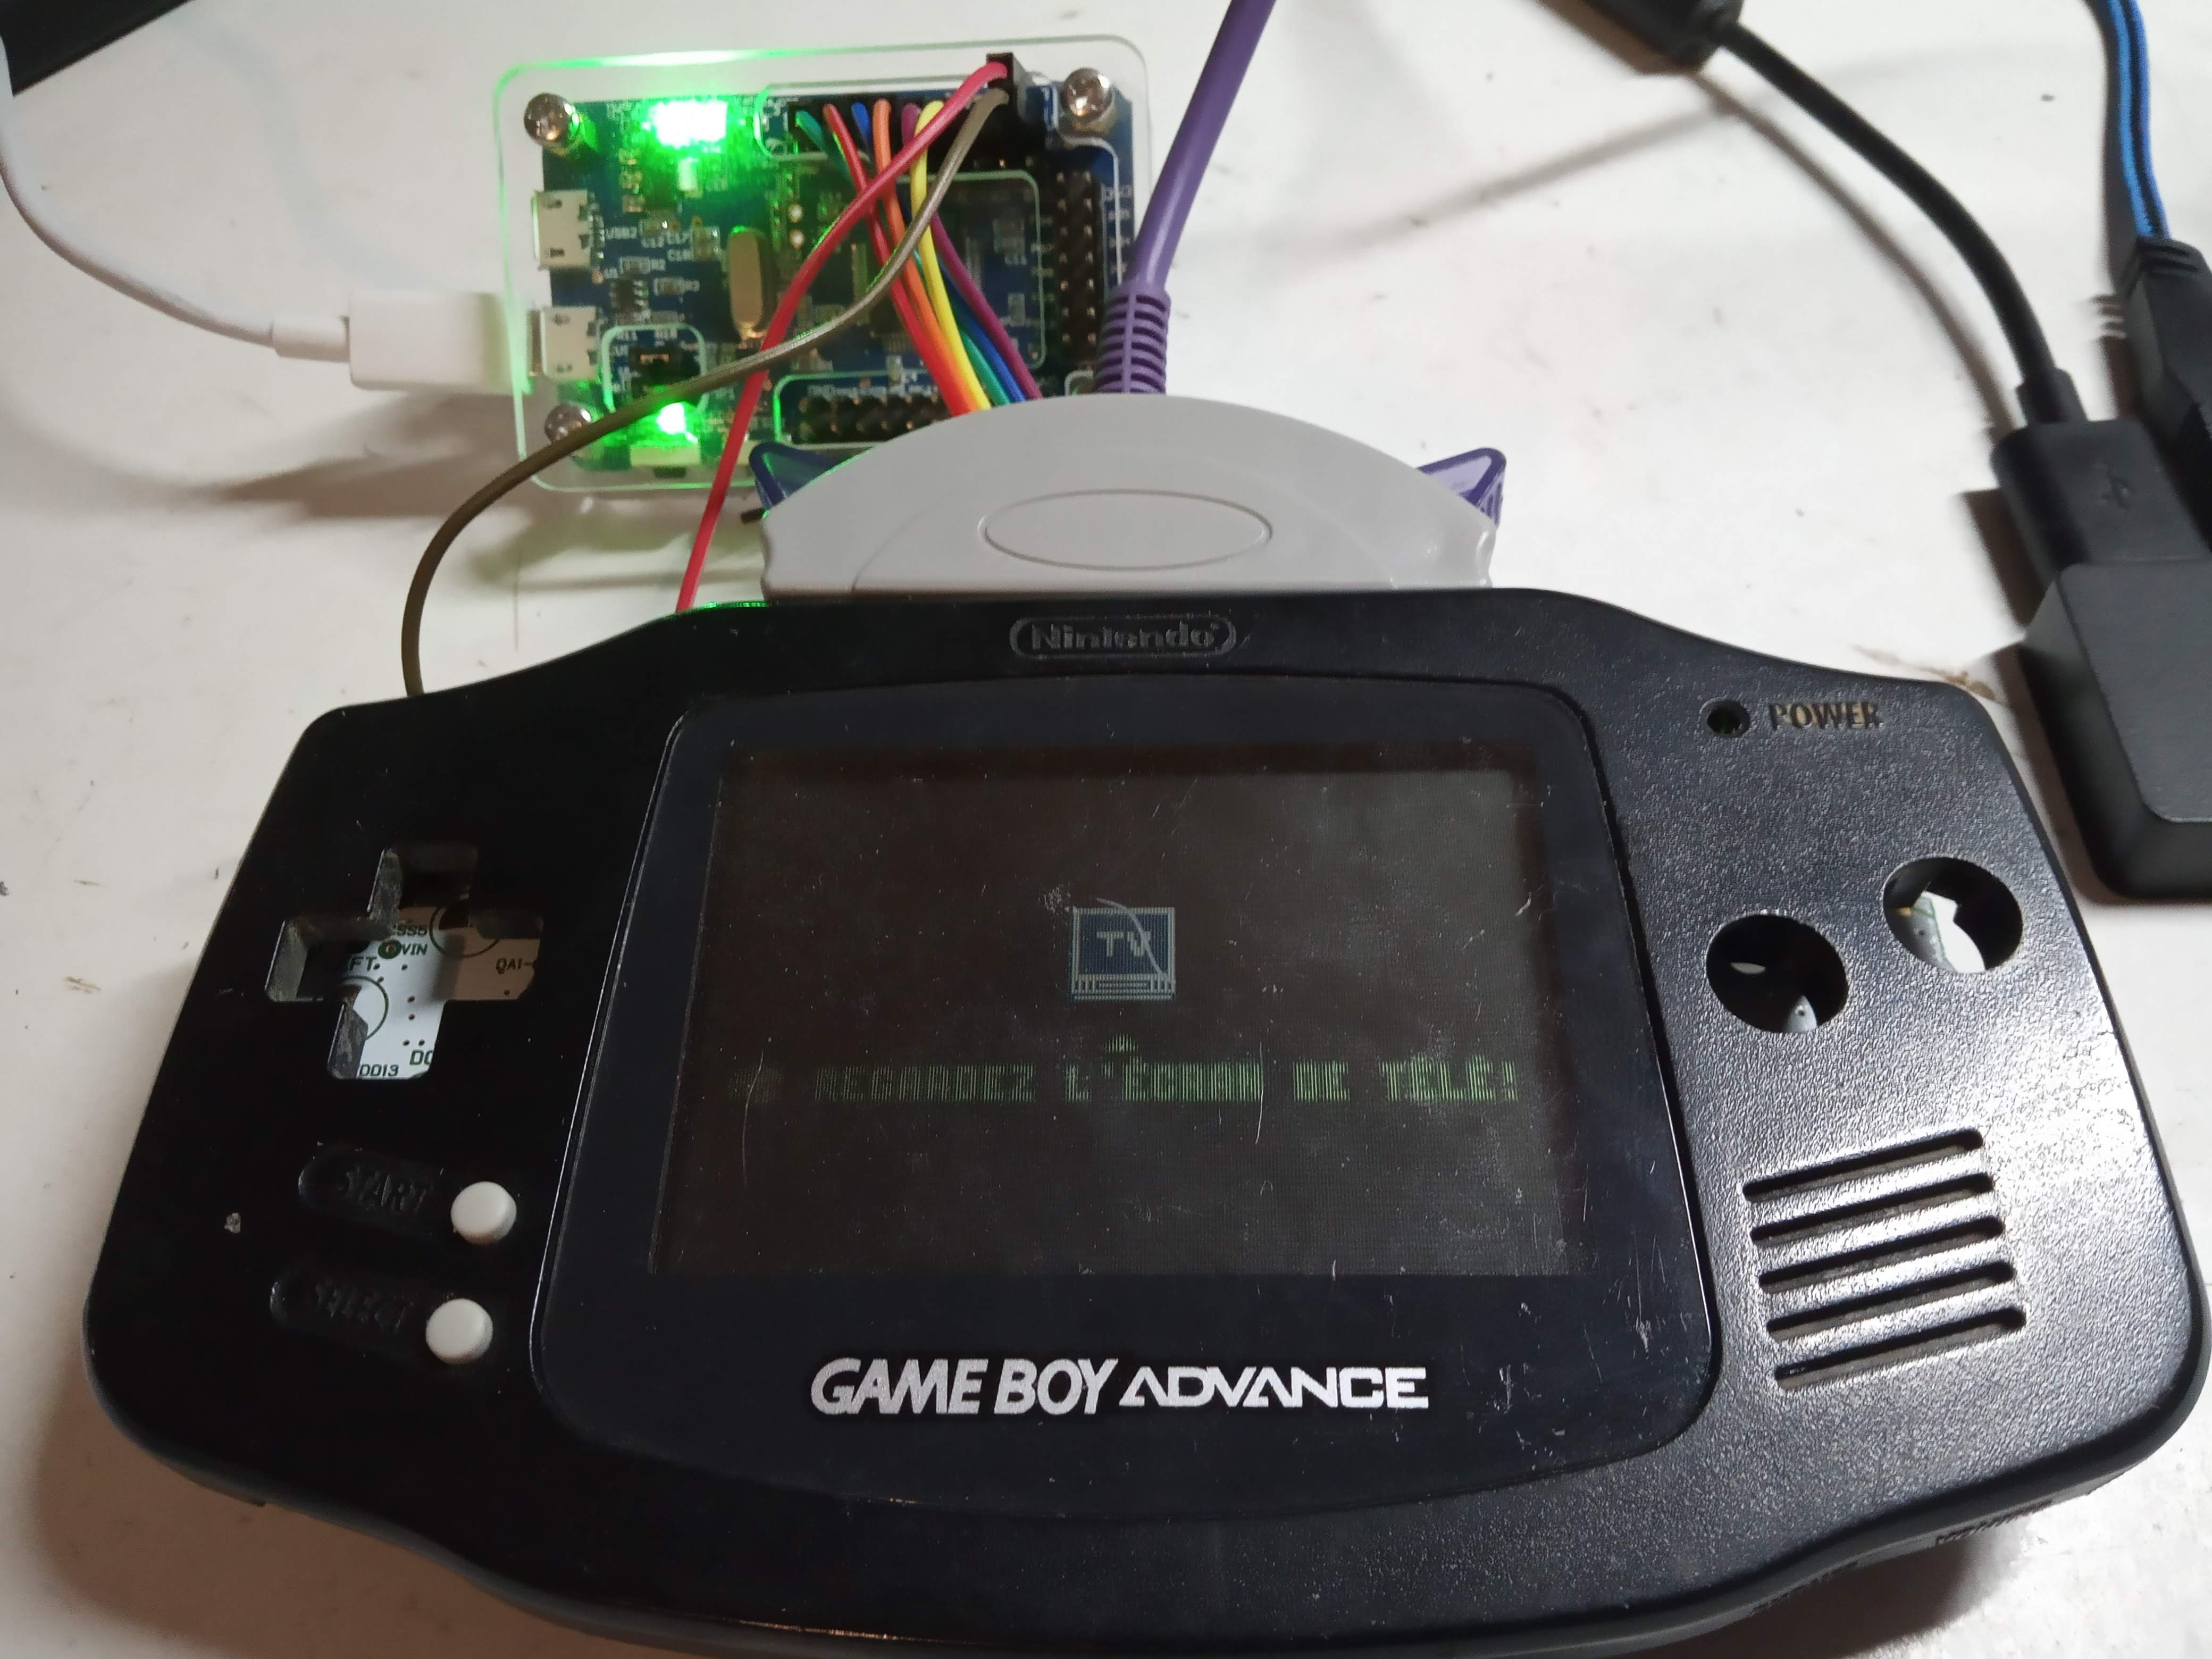
A little while ago I tweeted about a project where I was showing the picture of a GameBoy Advance (GBA) on which I soldered a few cables onto the serial port. The idea behind this was to make an interface between the GBA and my computer so that I could use it as an alternative controller and screen.
This post is more a log book rather than a straight to the point technical document. I like to tell stories and I believe showing the errors made and paths taken is always interesting.
Introduction
I woke up one day with the revelation that some Nintendo GameCube (GC) games allow the use of a GBA as a controller, using a particular cable. This configurations also permits the GC to display images or game data directly on the GBA.
This triggered two things in my brain: the need to know how it works, and of course I wanted to be able to do it from my computer because, you know… why not?!
At the time of writing, I have made some progress but my goal isn’t yet reached. This post is only the beggining and I don’t know when I’ll finish. However I thought that I should share the informations and experimentations I’ve done until now.
Zelda four sword adventure
When I was younger I bought this GameCube game: Zelda four sword adventure. It was great, and as a Zelda fan I liked it a lot! And yes I still have it to this day! :D
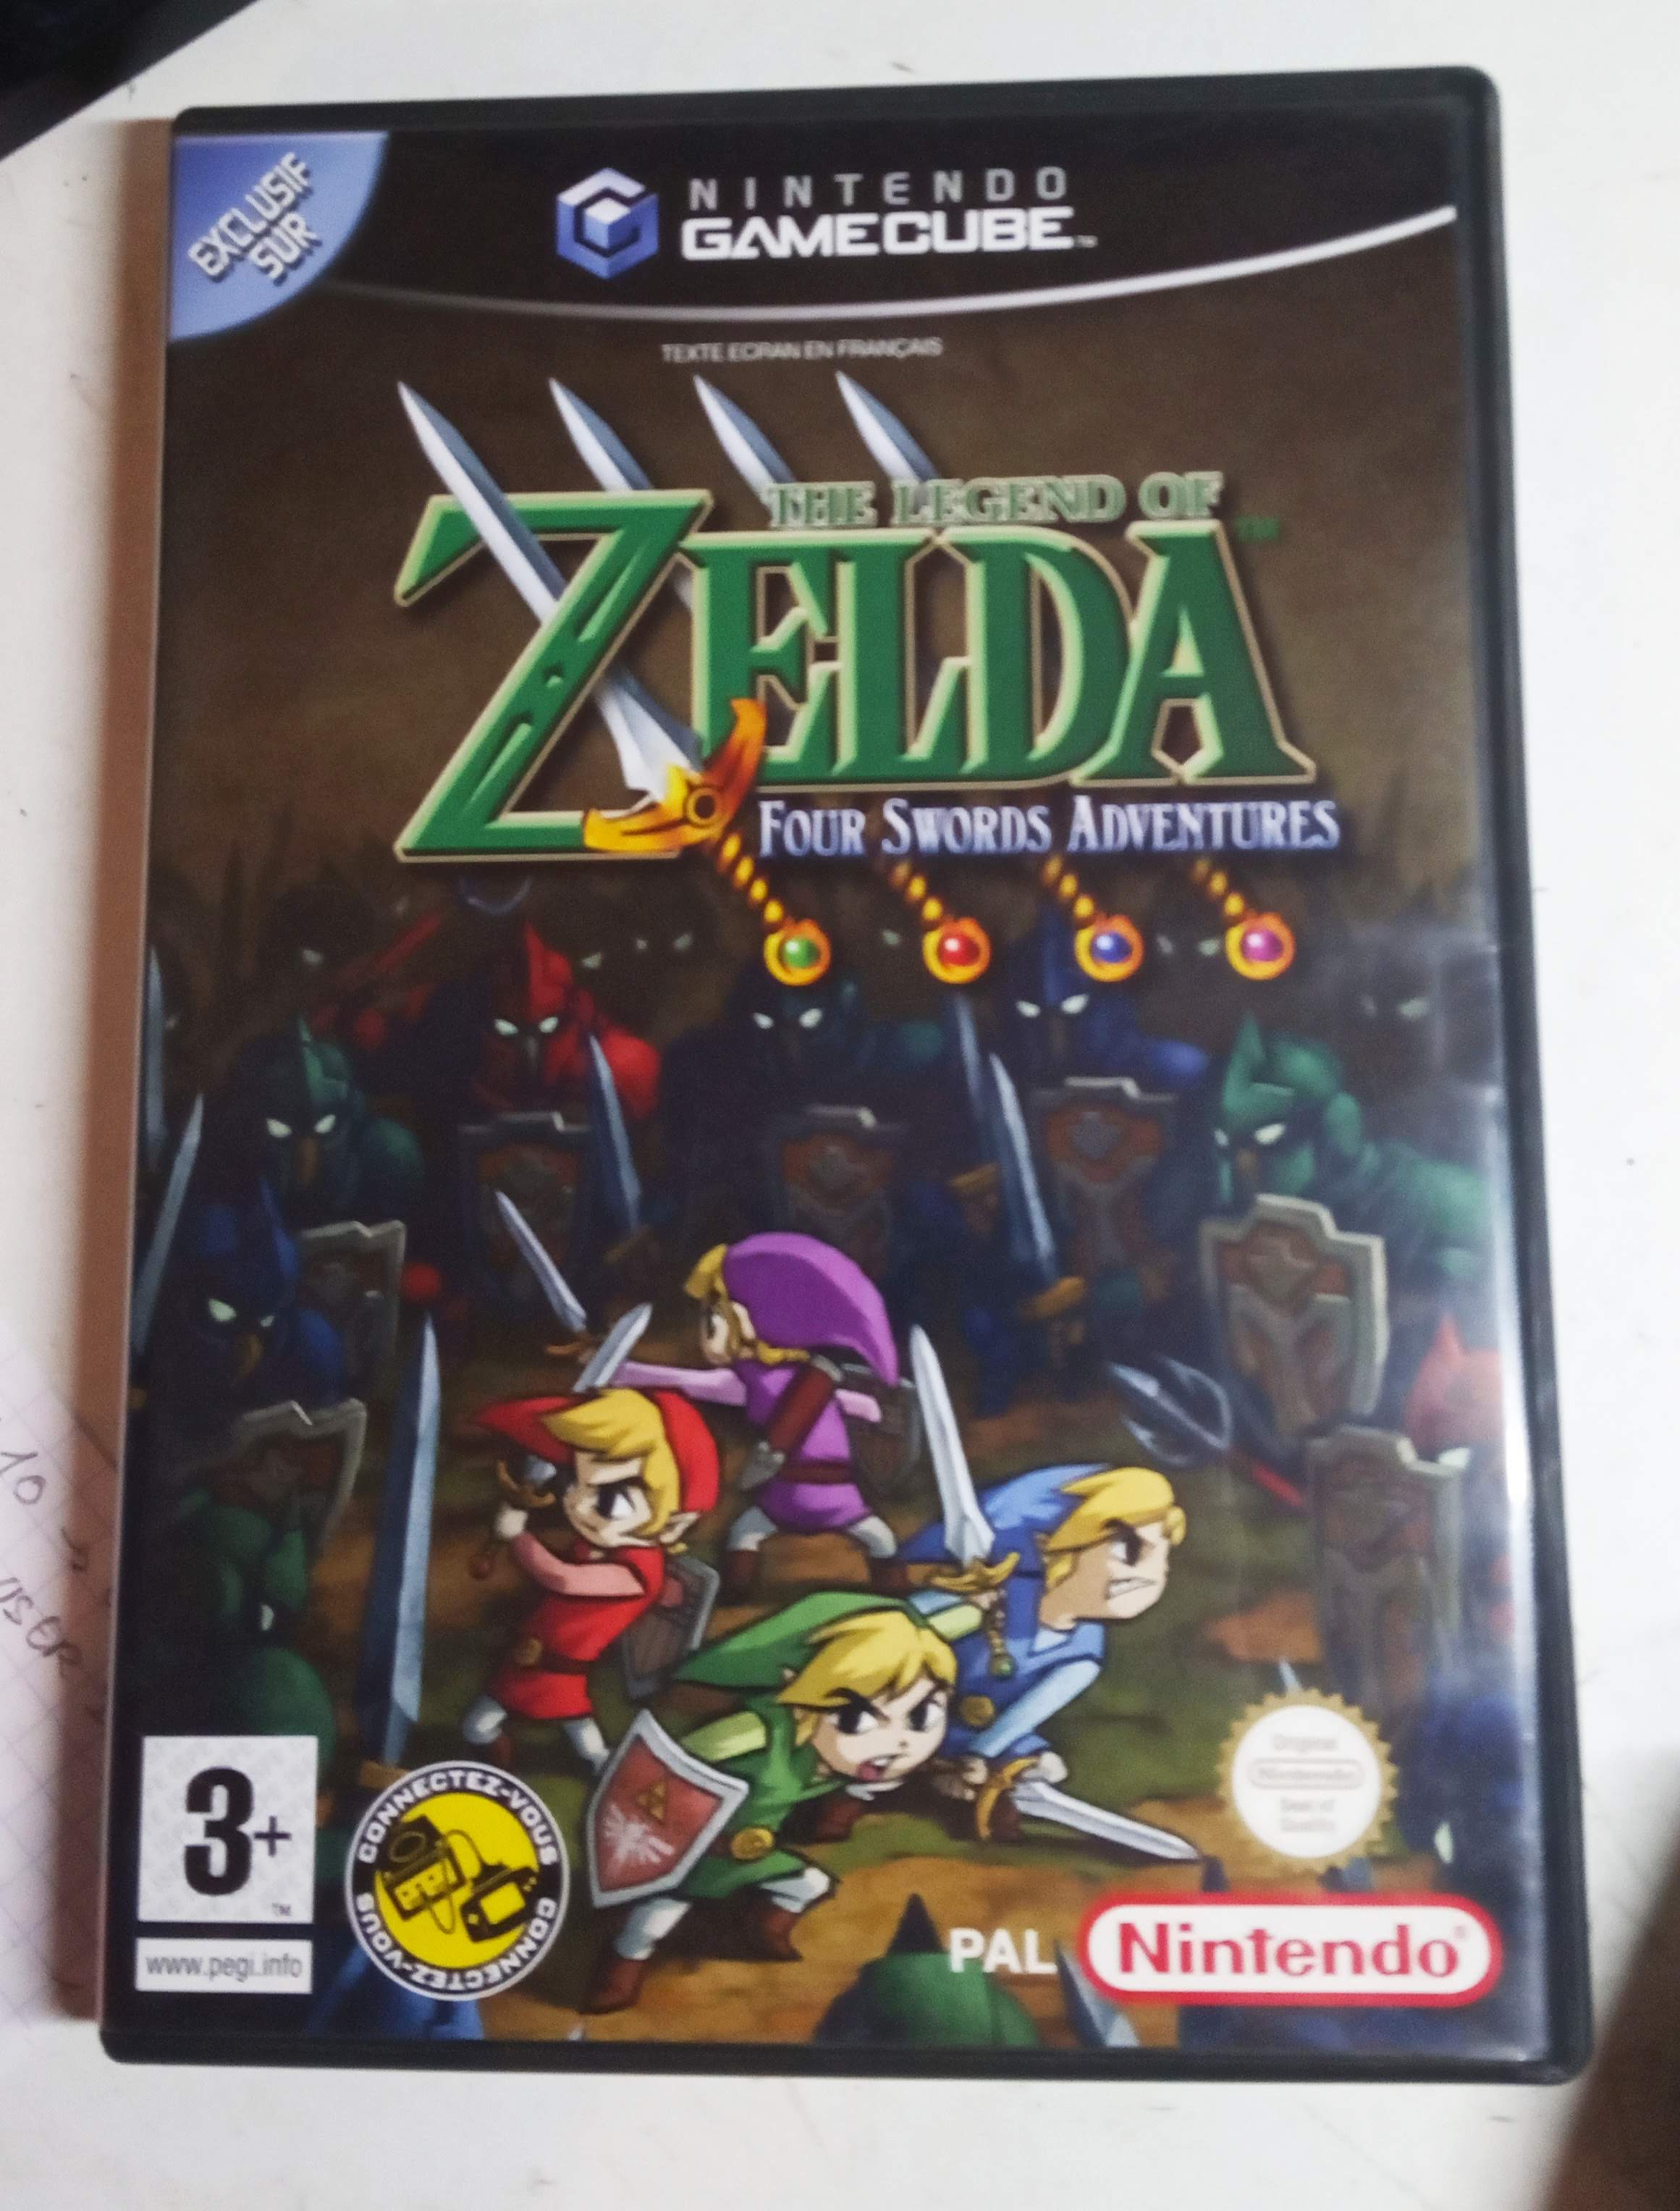
But the important thing about this game is that little yellow stamp that you can see on the bottom left, next to the PEGI sign.
If you add a GBA and the cable to connect it to the GC, it was possible to play using the GBA as a controller. And even better, if you use this, when entering a room, the room’s screen was displayed on the GBA screen while the outside was still on the TV!
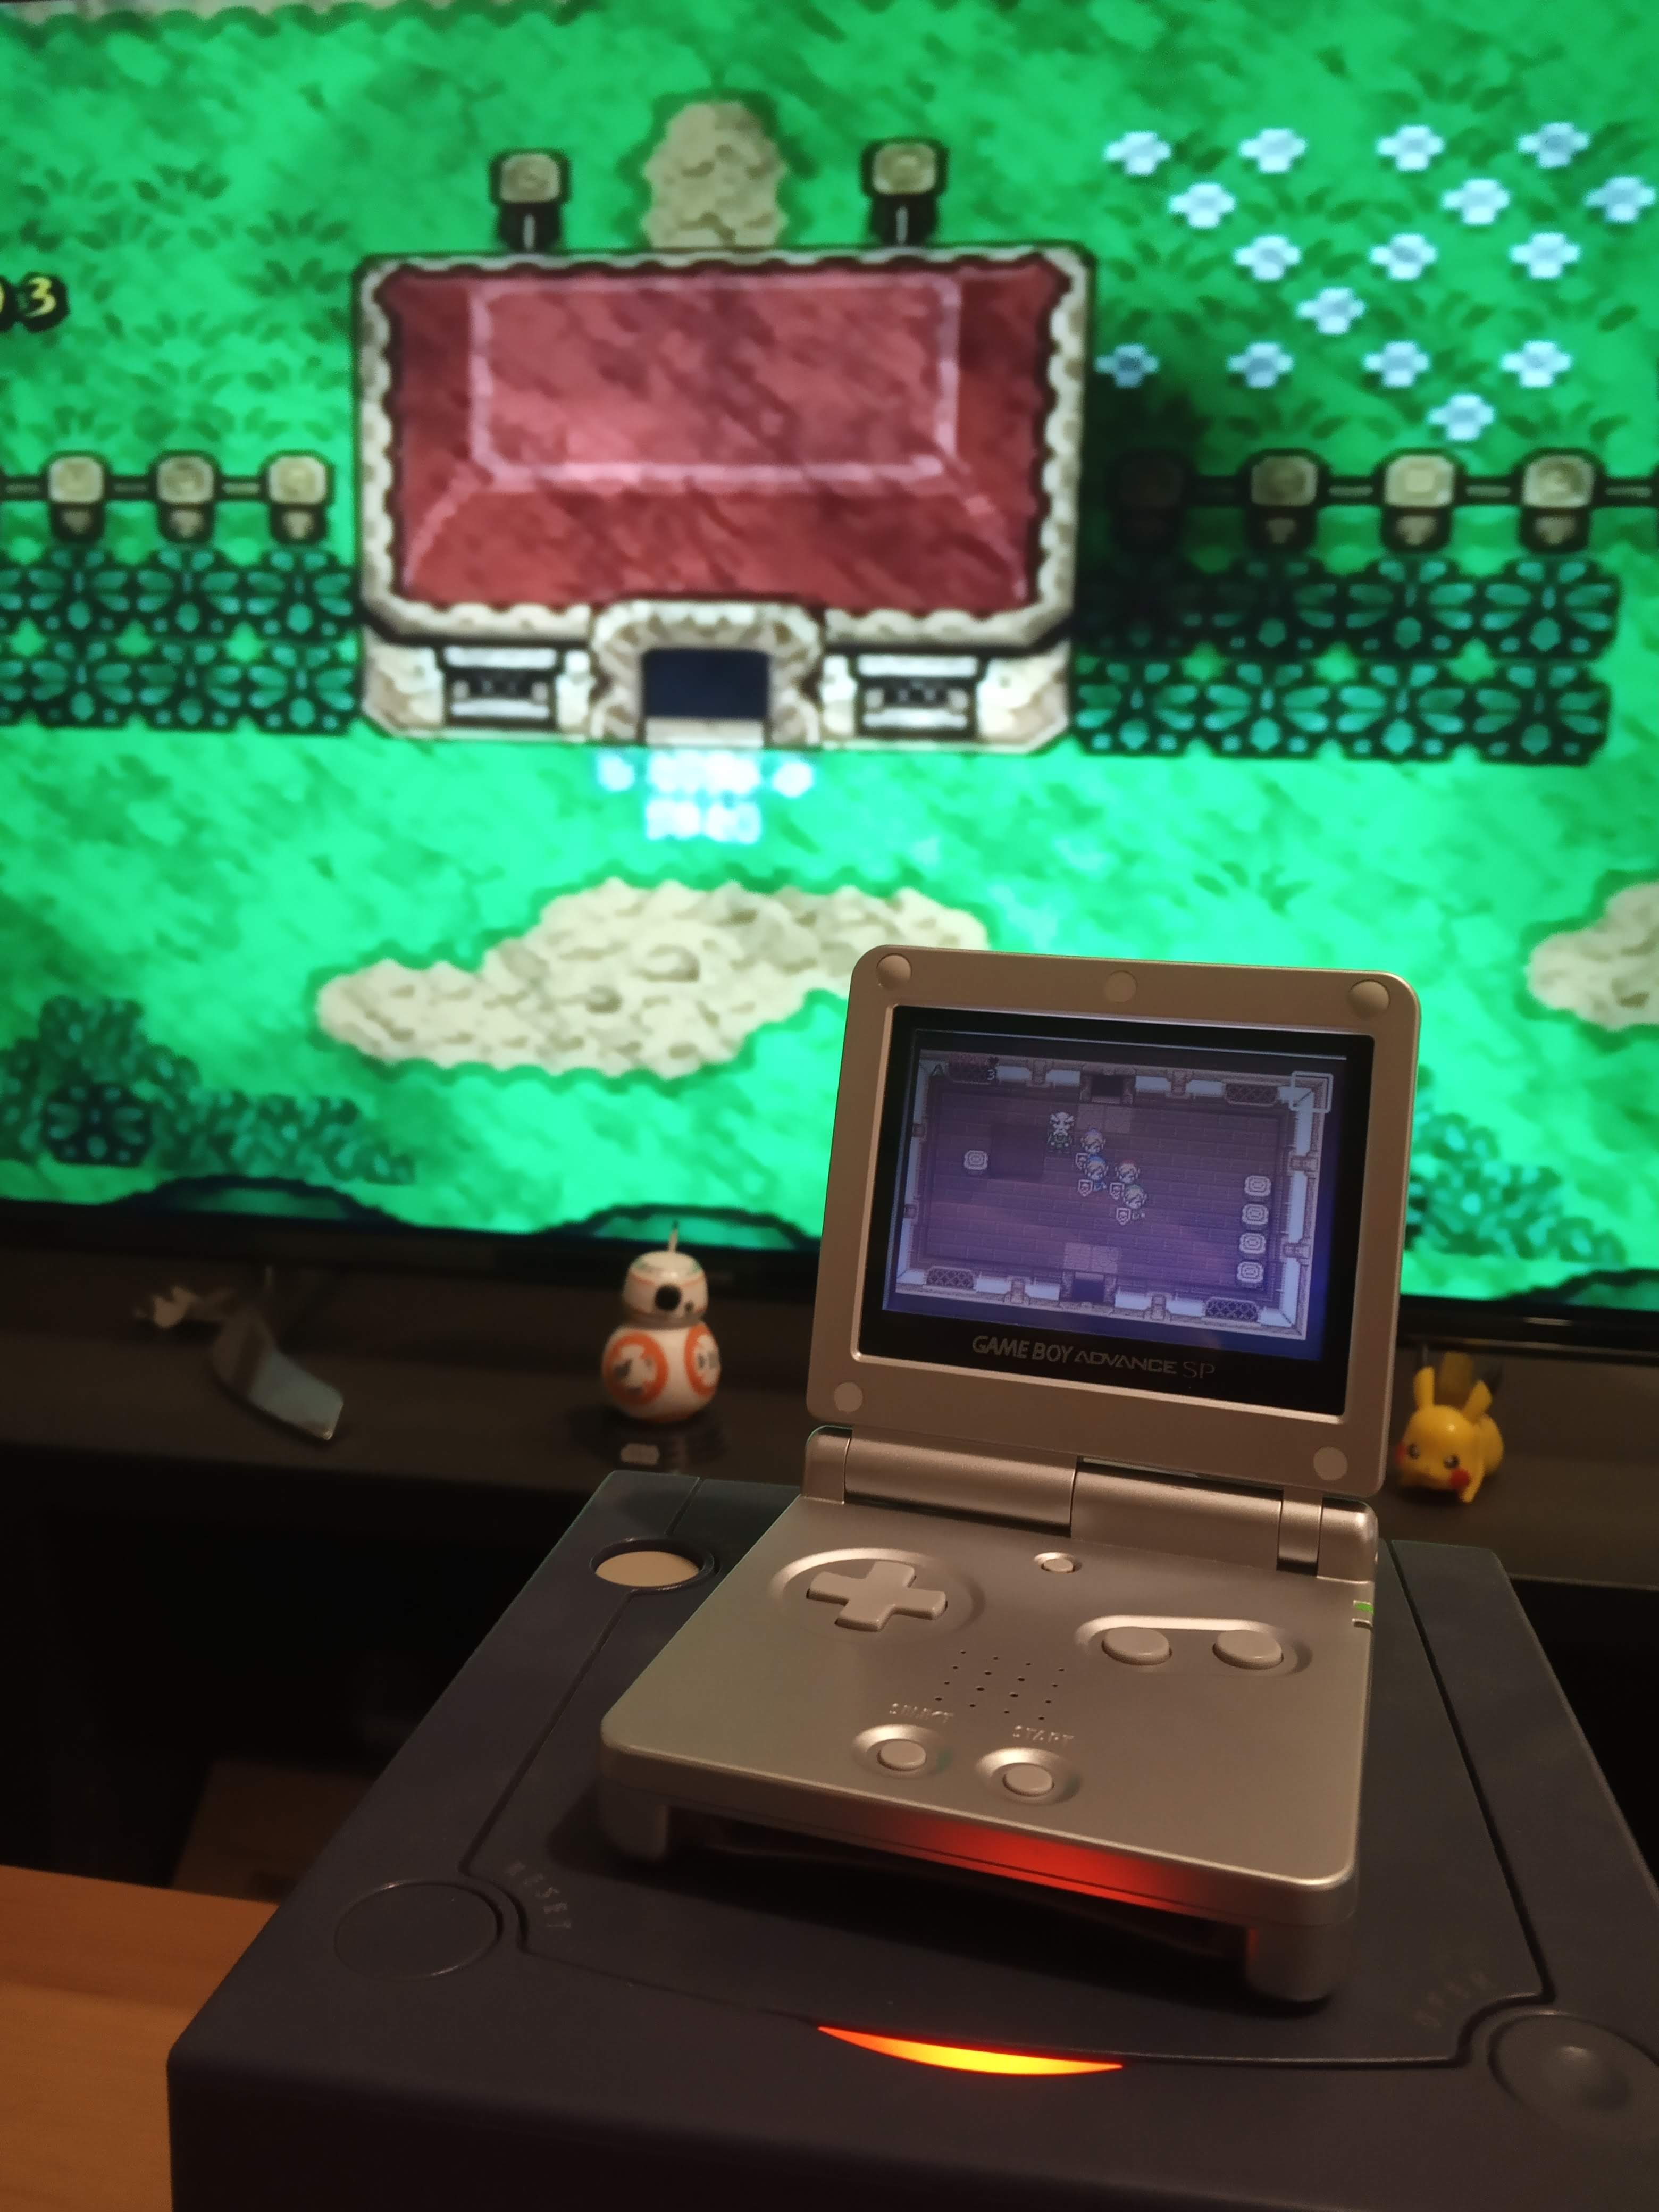
Now that I think about it, Nintendo had the idea for the Wii U and the Switch a long time ago!
GC <-> GBA Cable link
For those of you who never saw that cable, here it is: NGC to GBA link cable
RE: sniffing the lines!
The first idea that came to my mind when trying to understand how it is done was to sniff the data on the cable. Looking back, this might not have been the best idea but it was fun to explore nonetheless.
Soldering time
EXT port
Well, I don’t really know what to say except that: it’s ugly but it works ¯\(ツ)/¯

And here is the mapping for future references:
| PIN | EXT port | Cable color |
|---|---|---|
| 1 | Vcc | Green |
| 2 | SO (serial out) | Red |
| 3 | SI (serial in) | Blue |
| 4 | SD (serial data) | Orange |
| 5 | SC {serial clock) | Purple |
| 6 | GND | Yellow |
GBA socket:
 ___________
|  2  4  6  |
 \_1_ 3 _5_/
     '-'
Bonus: batteries are lame
It was really unpractical to perform my tests using batteries and since we need to switch the GBA on before receiving any data, I soldered two more wires on it so I could use the hydrabus’ 3.3v and GND lines instead.
Reading some data
Now, as you might have guessed, I used my hydrabus in SUMP mode to sniff the wires.
Configuration
Pluging things in the right place
This is the easy part, I just plugged the wires I soldered on the EXT port to the hydrabus with the help of the great documentation about hydrabus’ SUMP mode.
Pulseview
For the software part, I chose to use sigrok along with the pulseview interface.
To use the hydrabus as the hardware interface for pulseview, we uses the following configuration:
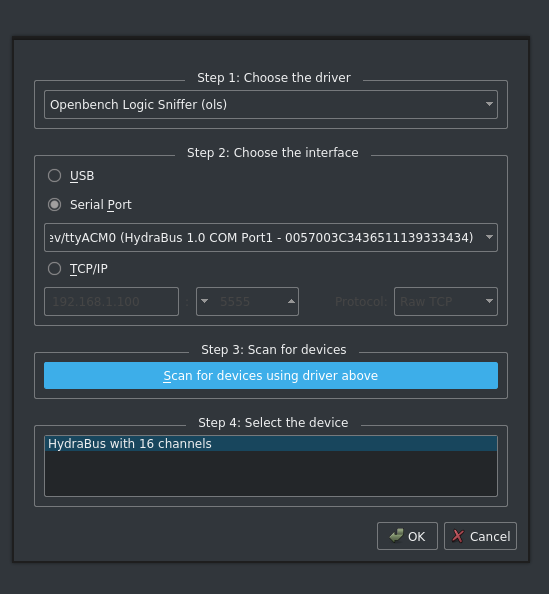
And finally we can customize our inputs to have a proper look.
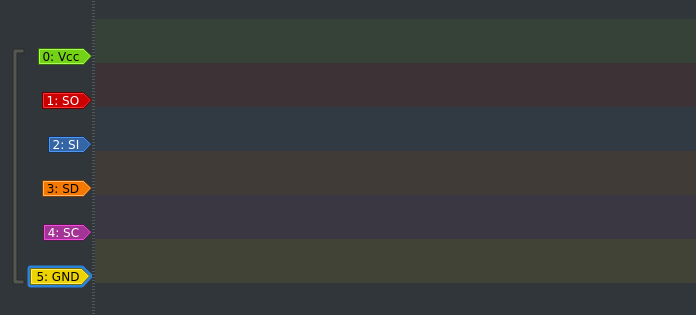
Getting data & limitations
One of the first thing you will learn if it is your first time doing this, is that the hydrabus is not a logic analyzer and can not stream everything to your computer.
In fact, it has an internal buffer that can store a few samples and sends it to the computer when the buffer is full. So here is one of our first limitation: we will only record chunks of the communication.
First frames
Okay, getting the first frames is easy: let’s plug the GBA to the GC using the link cable, we then switch the GC on, running the game. Now click run in pulseview and switch the GBA on.
During my first attempt, I forgot to set a trigger on Vcc so all lines were low. After correcting this small mistake, we get the following data:
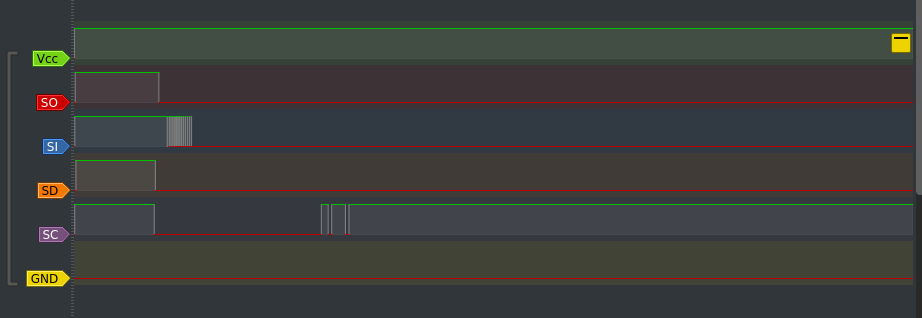
Fair enough, let’s get some more data and we’ll analyse it all later!
Another chunk of frames

It looks about right, doesn’t it? Well, sorry to spoil it for you, but no it isn’t right. And this is were I encountered my first real issue with this process.
Limitations
What we see in those captures are signals recorded with a speed of 2MHz which is the maximum speed supported by the hydrabus. However, we can read on the specs of the GBA that its CPU runs at 16.8MHz. We are recording too slowly and many bits are missing from the captures. This makes it impossible to analyse the protocol using this technique, and even more annoying: I might not be able to use the Hydrabus as my bridging interface between the computer and the GBA.
This made me rethink my original idea and I will find some solutions but in the meantime, I still want to know how this particular game manages to use the GBA as a controller. Let’s reverse engineer the game!
RE: analysing the game
Getting the ISO
The first step to be able to reverse the game would be to have the game. On my computer. Please. Apparently it requires either a Wii or some old and specific DVD reader to be able to read the mini disc and dump it to get an ISO. And, since I have neither and am curently short on money, I decided to download it from this wonderful place called The Internet.
Yup.
Actually, I would like to try to get the ISO by myself, but that will be in another post, maybe, eventually, hypothetically, someday.
Extracting the crunchy data!
After reading about a bunch of tools (most of them dating back from the Windows XP era) I ended up learning that it was possible to extract the data using dolphin-emu
In order to do so:
- add the game to dolphin’s library
- right-click -> properties
- go to the “Filesystem” tab
- right-click on disc -> “Extract files”
This produces two folder: sys and files
$ ll *
files:
total 8.0K
drwxr-xr-x 1 emy emy 1.8K Oct 12 09:09 GC4Sword_pal/
-rw-r--r-- 1 emy emy 8.0K Oct 12 08:25 opening.bnr

sys:
total 5.0M
-rw-r--r-- 1 emy emy 120K Oct 12 08:25 apploader.img
-rw-r--r-- 1 emy emy 8.0K Oct 12 08:25 bi2.bin
-rw-r--r-- 1 emy emy 1.1K Oct 12 08:25 boot.bin
-rw-r--r-- 1 emy emy 9.4K Oct 12 08:25 fst.bin
-rw-r--r-- 1 emy emy 4.9M Oct 12 08:25 main.dol
The sys folder contains the actual game program, here named main.dol. It appears that depending on the version of dolphin-emu, the sys files are not produced in the same manner. (I got a boot.dol on another computer)
$ file sys/*
apploader.img: data
bi2.bin:       data
boot.bin:      Nintendo GameCube disc image: "The Legend of Zelda: Four Swords FOR NINTENDO
GAMECUBE" (G4SP01, Rev.00)
fst.bin:       data
main.dol:      Apple HFS/HFS+ resource fork
From this point, sure, we could RE the main.dol file. But it’s huge and I am lazy. And, I came to think about it, there probably is a GBA ROM somewhere that should be loaded directly on the GBA through the cable. Let’s check the files directory.
 $ ll files/*
-rw-r--r-- 1 emy emy 8.0K Oct 12 08:25 files/opening.bnr

files/GC4Sword_pal:
total 16M
drwxr-xr-x 1 emy emy   34 Oct 12 08:25 Agb/
drwxr-xr-x 1 emy emy   62 Oct 12 08:25 AudioRes/
drwxr-xr-x 1 emy emy 6.4K Oct 12 08:25 Boss/
-rw-r--r-- 1 emy emy 3.3K Oct 12 08:25 cardicon.arc
drwxr-xr-x 1 emy emy   44 Oct 12 08:52 cardicon.arc_dir/
-rw-r--r-- 1 emy emy 1.2M Oct 12 08:25 data.arc
-rw-r--r-- 1 emy emy 136K Oct 12 08:25 entry.arc
-rw-r--r-- 1 emy emy 138K Oct 12 08:25 entryFrench.arc
[...]
DO YOU SEE IT??? Honnestly I was so tired it took me about 1 hour before I realized that Agb stands for Advance GB. This folder contains only a client_thread.arc file.
After a short amount of googling and staring this github repo: ARCTool, I managed to get my hands on the shiny little piece of code I was looking for.
$ python2 ARCTool/ARCTool.py files/GC4Sword_pal/Agb/client_thread.arc
RARC archive
Processing node archive
Processing node agb
Dumping agb/client_thread.bin 100%

$ file client_thread.arc.extracted/archive/agb/client_thread.bin
client_thread.arc.extracted/archive/agb/client_thread.bin: Game Boy Advance ROM image (g4sp01, Rev.00)
Which can then be run in an emulator:
$ mgba client_thread.arc.extracted/archive/agb/client_thread.bin
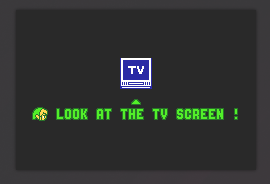
And see you in part 2 for the actual reverse engineering :)
eq.
